How to Prepare & Paint a Fire Surround
If you have an old fire surround and you’re wondering what to do with it, why not try painting it for a fresh new look? With Frenchic paint, you can update the style and look of a room with as little as three coats of paints.
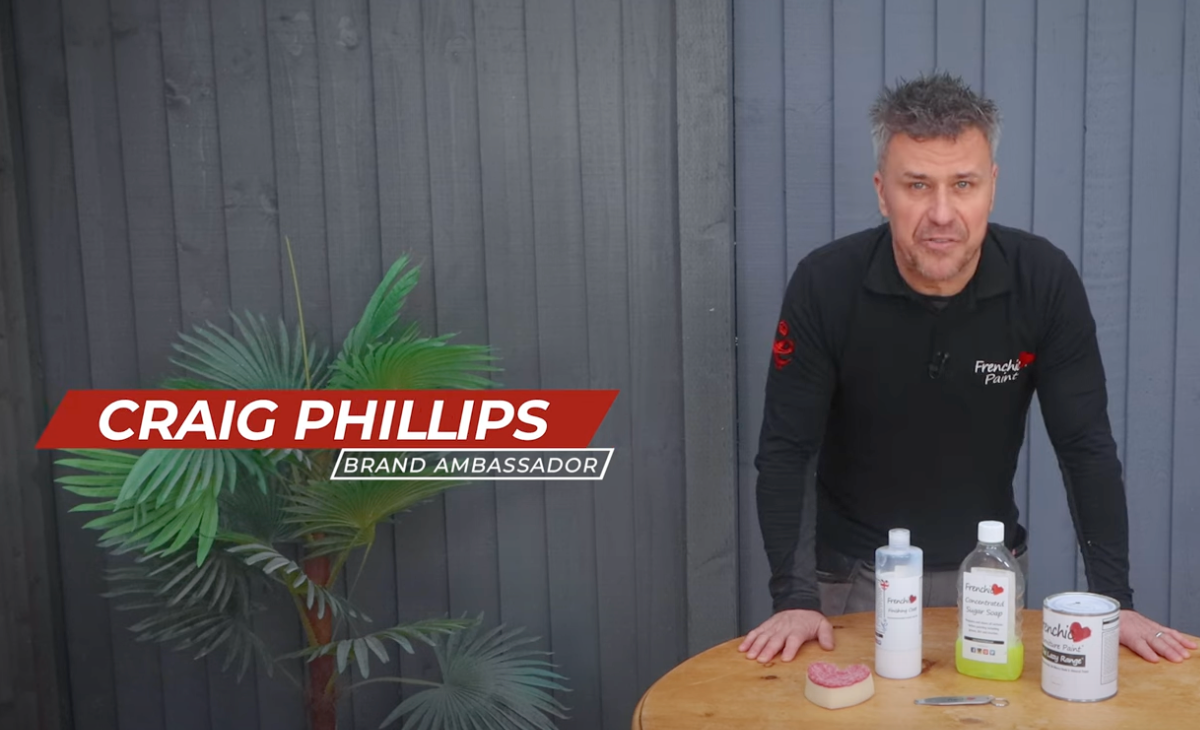
In the video above, our brand ambassador, Craig Phillips, guides you through how to prepare and paint a fire surround to give lasting results. Read on as we run through his advice.
What you’ll need
- Sugar Soap
- Sponge or cloth
- Masking tape
- Wire brush
- Sanding pad
- Brushes
- Small roller or sprayer (optional)
- Finishing Coat if the surface is porous
- Suitable paint, such as Frenchic Trim Paint, Chalk Wall Paint or Al Fresco paint, which are self-priming so they reduce preparation
Preparing the fire surround
Start by covering up your carpet or flooring and masking the surrounding areas. It’s a good idea to mask around the bottom of the fire surround before you add your dust sheet. This will give your carpet extra protection.
Don’t forget to cover the wall behind the surround to keep it safe from paint. Use masking tape to go around the top, two sides and on the inside where the fire insert meets the surround.
Any fire or heating element needs to be completely cool, and any electrical element, disconnected, before beginning the job.
Next, it’s time to focus on cleaning any grime, dirt and dust on the surround. Using a mixture of concentrated Sugar Soap (around 10%) and warm water, wipe down the entire area you’re painting thoroughly with a damp cloth or sponge.
Ensure you scrub well to remove the potential years of grime, grease and even nicotine from the surface of the surround. A top tip is to use an old toothbrush when cleaning to make sure you get into those difficult to reach areas or carved detailing.
Wipe off the suds with a damp cloth and rinse with some clean, cold water. If you think that the surfaces need a second scrub, repeat the process with a mixture of fresh warm water and Sugar Soap. Make sure it’s completely dry before you move onto painting.
As Craig is using a Frenchic paint for this project – all of which are self-priming – he doesn’t need to apply a primer so can move straight onto sanding.
Sanding the surface
If your wooden fire surround is quite old, there’s a good chance it is finished with an oil-based varnish. While many paints will not work well on this type of finish, this is not an issue with the Frenchic ranges. Craig uses Trim Paint here. You still need to give it a scuff-sand to provide a ‘key’ for the paint.
Remember to always wear a dust mask when you’re sanding down any surface.
Sanding isn’t everyone’s favourite job but it’s important to do it correctly in order to maximise adherence and get the look you want. It also helps when you’re applying the paint, as it stops it from dragging across the surface when wet.
If your surround has any patterned areas that may be tricky to sand, you can use a wire brush first, following by a gentle sanding pad. That way you’ll get the same effect without missing any crevices in the surface.
For fire surrounds that have porous surfaces like bare brick, MDF or stone, use Frenchic’s Finishing Coat to seal the surface before you begin to paint.
Painting your fire surround
When you’ve cleaned (and sealed, if necessary) your fire surround, it’s time to paint. Our Trim Paint range is excellent for surfaces such as fire surrounds, as it’s soft satin sheen gives a subtle, stylish appearance. If you prefer matte paint, why not consider Al Fresco paint or even Chalk Wall Paint for an ultra-matte finish?
We recommend applying a minimum of two coats., but you may need an additional coat if you’re using a paint sprayer with thinned paint.
Brushing, rolling or spraying
Frenchic’s Oval brushes work perfectly with all types of paints and can really help you achieve a smooth finish. It’s also helpful to have a smaller brush on hand for the detailed areas which many fire surrounds have.
Another option is to use a paint roller:
- Use a small painting tray and pour your paint in, no dilution needed.
- Get plenty of paint on your roller and begin to apply on the flat areas.
- Foam rollers will allow you to paint the detailed areas fairly well, though you’ll still need to use your paintbrush to feather out drips and smooth the surface if you are not keen on the slightly dimpled appearance that results from using most rollers.
Finally, you can use a handheld paint sprayer. But keep in mind that you will need to mask up more areas to make sure you don’t paint the tiles in the middle or the walls around your fire surround. You can use masking tape with polythene attached to easily cover the areas you need to.
Paint sprayers are naturally a lot faster than a paintbrush or a roller. Remember that the paint will need diluting and you’ll usually need an extra coat. To get the best results, keep the paint sprayer moving at a consistent, steady pace over the surface.
Top tips
Painting a fire surround is similar to painting any other furniture, although remember to use a heat-resistant paint if the surface heats up significantly. As a general rule, avoid painting areas that are likely to be too hot to touch. This is due to the risk of discolouring and peeling if the surface comes into contact with any flames.
Watch out for any drips as you paint, especially in any patterned or detailed areas, as paint can easily collect around the edges. If you find any, feather the drip off with a lighter paintbrush to smooth the area out. Check out our guide to preventing and fixing paint drips for more information.
Check the tin for instructions on minimum drying time between coats. Craig is using Trim Paint which has a four hour wait time.
Once your final coat is complete, remove the masking tape before it dries. When you’re finished painting, make sure to wait 48 hours before switching the heat back on so the paint will cure properly. Turn it on at a lower temperature to begin with and slowly increase it over a few days.
Ready to start painting?
Using Frenchic’s paint ranges makes even a challenging job simple. Follow the steps above to update your fire surround with a fresh, new look. Get started by finding your local Frenchic stockist today – and don’t forget to tag us in the results on Instagram @frenchicpaint.


