-
Shop
- Paint Colours
- Original Artisan Range
- The Lazy Range
- Al Fresco Inside/Outside Range
- Chalk Wall Paint
- Chalk Wall Paint Samples
- Trim Paint
- Metallics
- Easy Crackle
- Frenshimmer
- Frensheen
- Brushes
- Sealants, Top Coats, Waxes
- Sugar Soap
- Stencils
- Accessories
- Frenchic Apparel & Bags
- Colour Charts
- Gift Cards
- Product Range
-
- Browse by Colour
- Paint Colours
-
Projects
- Interior
- Ceramic Tiles
- Furniture
- Interior Doors
- Kitchen Cupboards
- Nursery Furniture
- Radiators
- Skirting Boards
- Wooden Floors
- Wall Paint
- Exterior
- uPVC Doors
- uPVC Windows
- Cladding
- Decking
- Exterior Doors
- Fascia Boards
- Fencing
- Garage Doors
- Garden Furniture
- Garden Shed
- Rooms
- Bathroom
- Bedroom
- Dining Room
- Hallway
- Home Office
- Kitchen
- Living Room
- Nursery
- Toilet
- Utility Room
- Finishes
- Matte
- Metallic
- Satin
- Weatherproof
- Washable
- Frenchic TV
- Samaritans
- Find A Stockist
- Become A Stockist
- Tips & Help
- Sign in


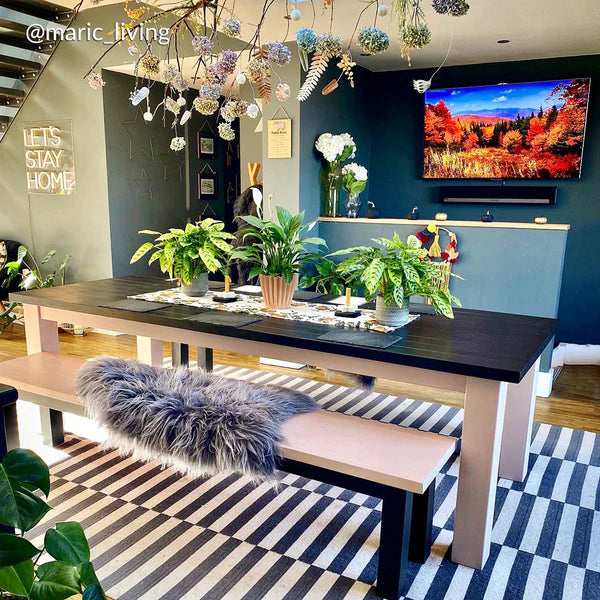
How to Create Distressed Furniture with Paint
If you’re looking for furniture with a vintage look and a bit of history, you don’t need to scour car boot sales or auction houses for distressed gems. In fact, you don’t even need to leave your house. It’s easy and fast to make your existing furnishings look like they’ve been passed down from generation to generation. All you need is some chalk paint, sandpaper and a free afternoon to transform your furniture.
The most simple and straightforward method to distress wood furniture is to sand some of the paint off. However, there are many methods to create a distressed piece, such as dry brushing, the candle technique and the rinsing technique. Take a look at how to distress furniture to create a worn and well-loved look.
What you need
- Drop cloth
- Sandpaper
- Paintbrush
- Microfibre cloth
- Steel wool
- Furniture wax
- Candle (optional)
How to distress furniture
1. Prepare the space
Start by laying down some drop cloths and prepare the area. Remove any hardware or knobs from the piece of furniture and store them safely out of the way. Then gather your equipment.
2. Sand and clean the piece of furniture
Prepare the piece of furniture. Lightly sand it to smooth out any rough areas. Apply different levels of pressure as you sand as this will cause the wood to absorb more paint in some areas and add to the aged look. Now is the time to soften any edges or corners that look too sharp.
When you have finished sanding, wipe the furniture piece down with a microfibre cloth to remove any loose dust and dirt.
Give it a clean with sugar soap if there is any grime as this will affect the finished look.
3. Paint the piece
Now it’s time to begin painting! There are many different methods you can use to paint a piece of furniture with a distressed look.
Using chalk paint, you can choose to paint with the grain of the wood or in a more slap-dash, figure-eight pattern. It may feel counter-intuitive to begin with, but remember that you’re going for rustic, not perfection. After the first coat is dry, decide whether you like the haphazard look or whether you want more coverage by applying a second coat.
If you want the piece to look like it’s been painted before, you’ll want to purchase two colours of paint so the base colour shows through when the top layer is distressed. Ideally, pick two contrasting colours for the best effect. If you want the original wood colour peeking through, use one paint colour.
Another option is to dry brush the piece of furniture by keeping the paintbrush very dry and using a minimal amount of paint – known as the dry brushing technique. Use rough brush strokes to create a weathered look.
Want to get creative? Rub a wax candle in various areas of the furniture, including the spots on the edges and corners before you paint. The paint will not adhere to the waxed areas, making it easy to remove so that the wood beneath is more visible.
When using two colours or two coats of paint, be sure to allow the paint to dry completely in between coats.
4. Distress the piece with sandpaper or steel wool
Once the piece is fully dry, you can begin to remove some of the paint to create a distressed look with steel wool, sandpaper or even both, depending on how rough you want it to be. If you painted two coats, use the steel wool to go over the waxed areas and reveal the base colour. You can then use the sandpaper to create additional worn areas.
For furniture with just one colour, use the steel wool and sandpaper to remove the paint and show the bare wood underneath. Concentrate on the edges and corners to gradually distress the piece. Keep to the areas that would naturally wear quickest, such as the corners, drawers, raised details and high-touch surface areas.
Start with a light hand first. Add more pressure until you’re happy with the result. Wipe away any dust with a cloth before applying the final finish.
5. Apply furniture wax
Once your furniture piece is dry and the distressing has been done, apply a furniture wax liberally with a bristle brush. Keep in mind that it’s better to add lots of wax to the furniture piece and wipe off the excess rather than use too little. The wax is there to sink into the wood and protect the paint job that you’ve worked hard to achieve.
What paint should I use for distressing?
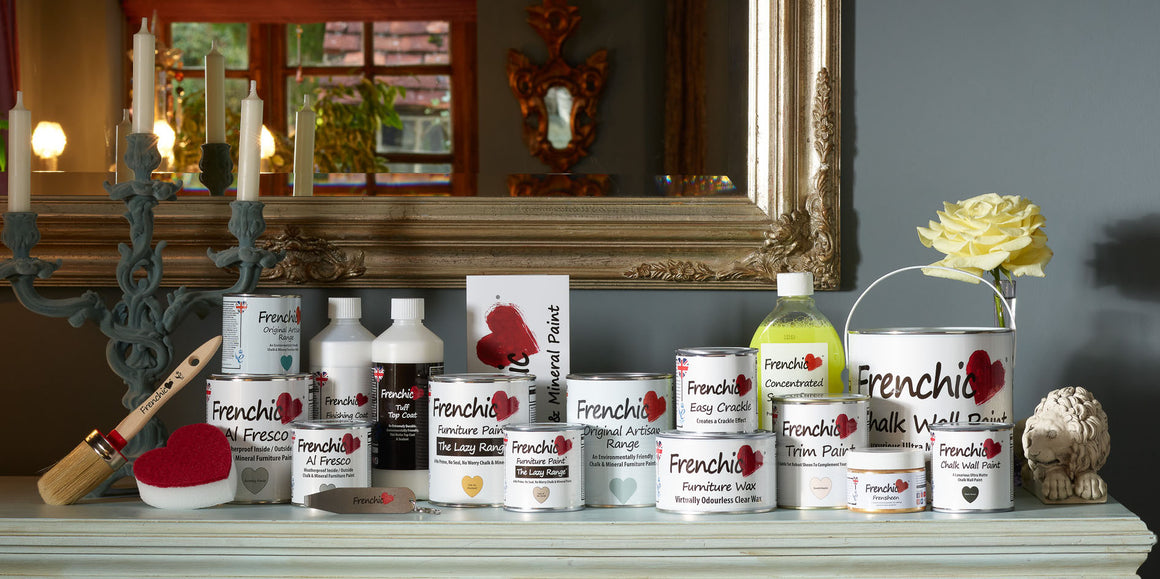
While you can use just about any paint for distressing furniture, there is one that stands above the rest – chalk paint. It’s thicker than regular paint, so you don’t need a lot on your brush (ideal for the dry brushing technique). Chalk paint is also great for creating distressed furniture because it’s very easy to sand. On top of that, it doesn’t have any of that “latex stick” or build-up layered paint look that can often be seen on corners and keeps drawers and doors from closing right after painting.
For first-time distressers, our Lazy Range is ideal. This range of chalk paint is self-priming, self-levelling and self-sealing – making your afternoon of distressing that much easier. Simply dip, paint and go.
Get started with chalk paint
Chalk paint makes distressing your furniture pieces easy, simple and fun. At Frenchic, we stock a wide variety of chalk paint colours and textures – from soft creams to bold yellows and antique greys. Whether you’re looking to distress a piece of interior or exterior furniture, we have the right range for you.
Take a look at our complete range of furniture painting products and get in touch with our friendly team who are happy to help you find the solution to transform your furniture.


Featured In


Sign up to get emails on the latest sales, new releases and more …


Copyright © 2023 Frenchic Paint. All Rights Reserved. Registered Address: 1 Chamberlain Square Cs, Birmingham B3 3AX. Company No: 09025388
Creative Web Co