

How to Apply Vinyl Wrap to Kitchen Worktops
If your kitchen worktops are looking a bit dated or you just fancy a change, you can transform them quickly and easily with self-adhesive vinyl wraps. Best of all, you don’t need to be a DIY pro to get the best results.
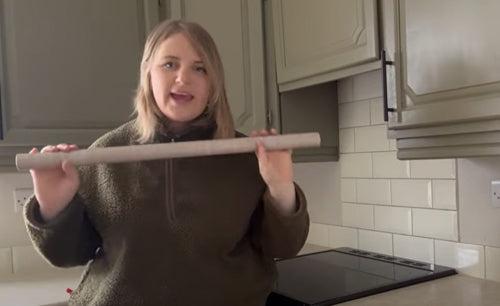
Watch our video to see how DIY Mum, Kayleigh Sherbourne, turns her work surfaces from drab to dreamy in a few simple steps. Or read our simple instructions below to learn how to apply self-adhesive vinyl to kitchen worktops.
What you’ll need
- A Frenchic self-adhesive vinyl wrap
- Frenchic’s application kit, which includes a sharp knife and smoothing tool
- Some scissors
- A tape measure
- A pencil and ruler
- A hairdryer
- Frenchic’s Sugar Soap
- Some tissue or a cloth
Choosing your wrap
The first step is choosing your wrap. Frenchic has six realistic effects including marble, stone and wood, so you can get a sought-after kitchen look without the cost. Kayleigh uses our self-adhesive Sublime Oak vinyl wrap for a light-oak effect.
Wraps will adhere to a range of surfaces including wood and laminate – as long as your kitchen worktops are flat, you should be fine.
Surface preparation
Before getting started with the vinyl wrap, you’ll need to ensure the surface is clean. Grease, dirt and dust can prevent wraps from sticking properly, so you’ll need to wipe your worktops down thoroughly using Frenchic Sugar Soap.
Use a tissue or cloth to wipe them down then leave to dry. Be sure to get into every corner, as kitchen tops can get pretty dirty!
Measuring up
Tape measures at the ready. Measure the first area you want to cover. It’s probably best to start with the simplest part of your kitchen to get used to the wrapping process, rather than tackling the area around the sink first!
Once you’ve got your measurements, use the guidelines on the back of your Frenchic vinyl wrap to cut it to size. You can mark out exactly where to cut with your pencil and ruler.
Applying vinyl to kitchen worktops
To apply self-adhesive vinyl to your kitchen worktops, peel a little bit of the protective film back from one end of the wrap and place it in down the starting position at one side of your worktop.
You can then flatten it out little by little using the smoothing tool from the application kit – removing more of the film as you go. The aim is to remove all air from underneath the wrap, so you have a clean, smooth finish.
Don’t worry if you don’t get it right the first time. Our wraps are repositionable, so you can simply peel them back off as much as you need then start again from a point you’re happy with.
If you end up with any pesky air bubbles, you can pin prick them with your sharp knife, then iron out with your smoother.
Tackling tricky areas
The kitchen sink
Wrapping the area around the sink can feel a bit daunting. Kayleigh’s trick is to remember that X marks the spot. Position your wrap on top of the sink, then cut an X in the middle with your scissors. From there, you can work outwards to cut away most of the excess wrap.
You don’t have to cut right up to the exact shape of your sink just yet. Remove the film from the wrap around the sink and start to work it onto the surface using the smoother. Finally, use the knife from the application kit to cut around the sink, trimming off any remaining excess to leave a smooth, precise finish.
Worktop corners
When it comes to corners, score down the middle (where the wrap goes over the corner) then smooth out the wrap on each side of the worktop. It can be a little trickier if your corners are rounded. However, you can use the hairdryer to make corners perfect, working out any rough edges with your smoother.
Final touches and care
Last but not least, you should silicone around your sink to stop water getting under the wrap. Apply using a silicone gun, then smooth with a smoothing tool or just your finger.
Once that’s done, you’ll have a durable surface that’s wipe-clean and heat-resistant up to 70°C. With vinyl wraps for worktops, your kitchen will look great and stand the test of time.
Just be careful when it comes to hot pans and trays out of the oven – as you would with any surface in your kitchen!
If you ever want to change things up, you’ll be pleased to know that Frenchic wraps are removable without damaging the surface underneath. You could even switch to another wrap from our range, such as oak, marble or stone.
