


How to prepare and paint a radiator
Painting is a great way to freshen up a tired-looking metal radiator and add to your home’s style. Whether you like bright and cheerful colours or subtle shades, painting an old radiator can give it new life and save you having to replace it with an expensive, new one. It’s a quick, easy and affordable way to rejuvenate the look of your room.
When you’re starting any painting project, you need to make sure you prepare the surface carefully. Rushing ahead to paint without properly preparing the surface could mean you end up with problems or a less than smooth finish on your radiator.
Below, we’ll discuss how to prepare and paint a radiator for the best results. You can also read our radiator painting guide for more insight into suitable types of paint and styles.
What you’ll need
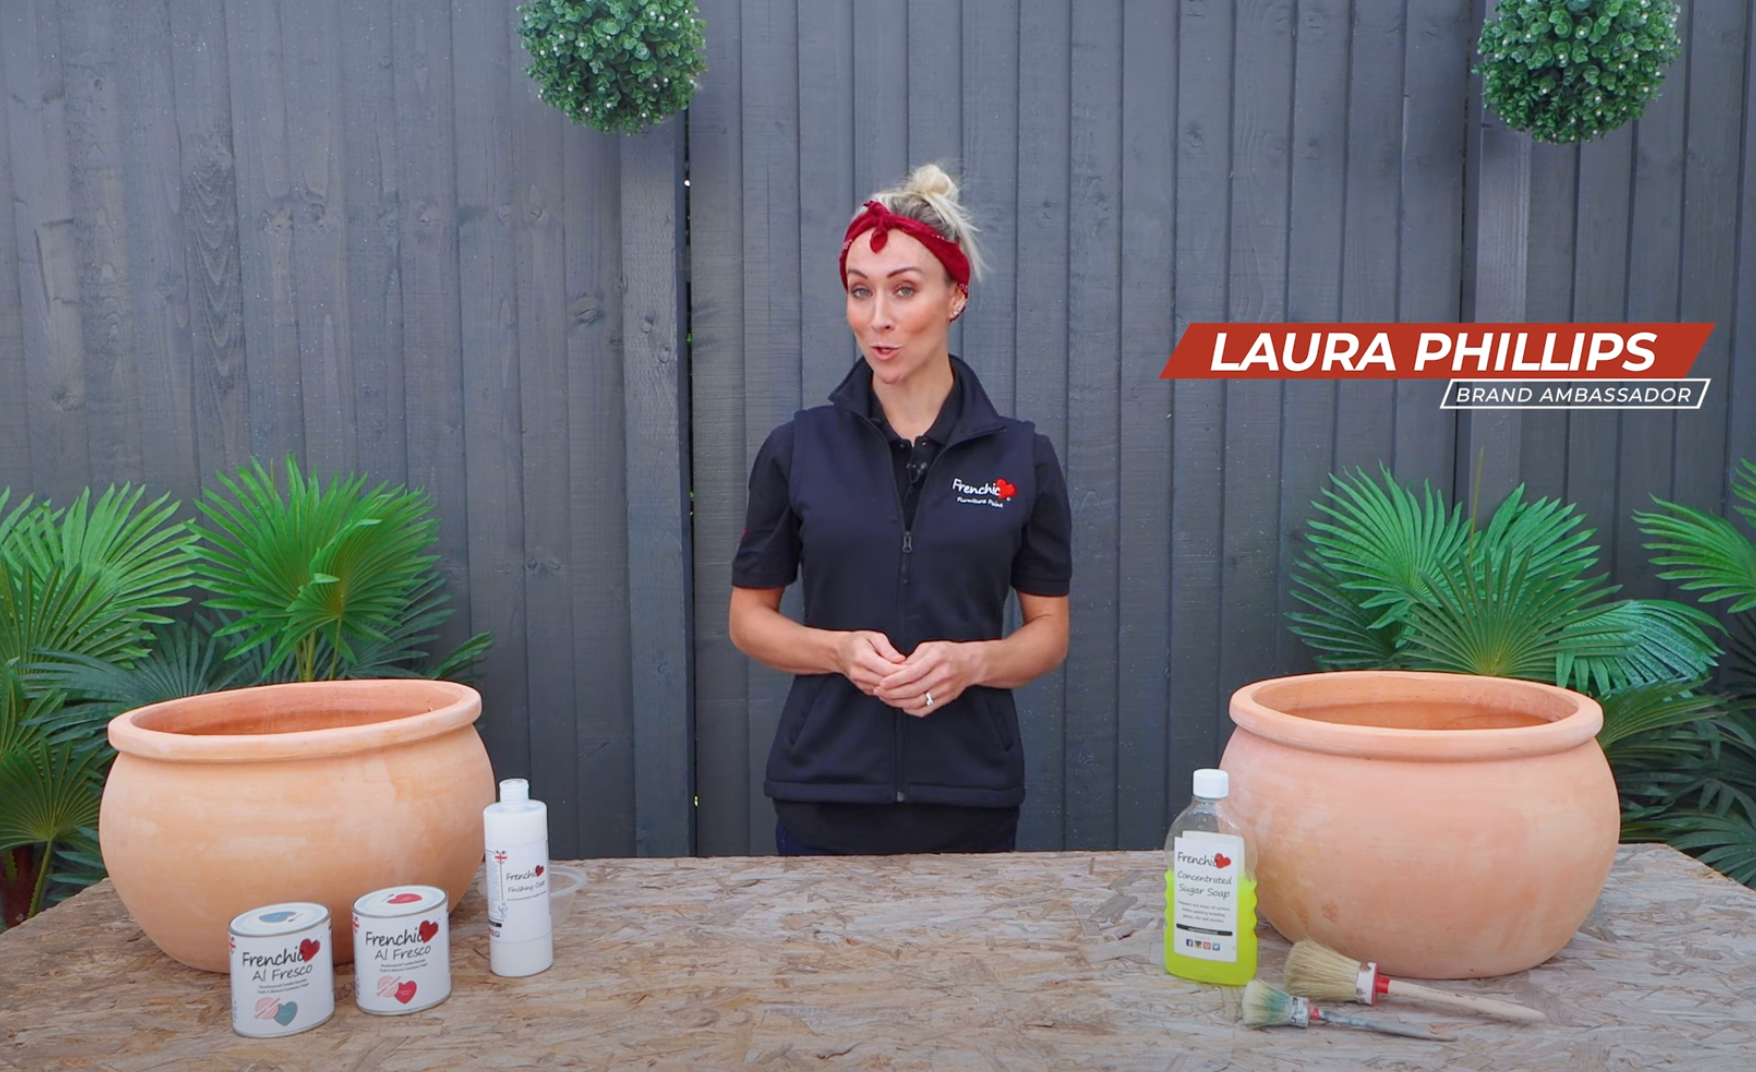
- Sugar Soap
- Sponge
- Paintbrush – you can use a detailing brush to give you extra control on tricky parts
- Radiator roller or sprayer (optional)
- Sandpaper
- Radiator paint – Craig uses Frenchic’s Trim Paint in the video, but our Al Fresco and Chalk Wall Paint ranges are also suitable for radiators.
- Masking tape
- Dust sheets for floor protection
Preparing your radiator
When preparing to paint your radiator, you need to clean it thoroughly with a sponge and some Sugar Soap. This will get rid of any dust and general grime.
Cover the area under your radiator with a dust sheet or a piece of cardboard to catch any debris or paint splatters.
Mix a small amount of Sugar Soap with warm water and use a clean sponge to scrub down your radiator. Sugar Soap is great for this type of job as it helps paint to stick to the surface without affecting the adhesion. Getting rid of all the dirt and grease will make the difference in the painted finished look.
Once you’re satisfied that you’ve cleaned everywhere, rinse with warm water. Allow it to dry thoroughly before moving onto the next step.
Checking for existing problems
When it’s clean and dry, have a good check of the condition of the existing paint. You will need to sand down any flaky bits or any drips that have dried out from previous paint jobs (using light to medium sandpaper). If these areas aren’t smoothed out, they will likely be visible even after you have finished repainting.
Don’t ignore patches of rust. Sand back and apply a suitable primer for exposed bare metal. Allow this to dry before proceeding.
Protecting the area
Next, it’s important to cover any areas that you aren’t painting, such as the valves and pipework. Use masking tape to cover them, with standard, polythene or paper types to choose from. When masking up these areas, take your time to make sure you do it right.
Protect the wall behind the radiator and avoid any splashes by applying masking tape to the wall at the top, both sides and below.
Painting your radiator
When you’ve cleaned your radiator and protected the area, it’s time to start painting. Craig uses Frenchic’s Trim Paint, ‘Cool Beans’, just one of the great colours from the Samaritans range.
Start by painting the recesses on the radiator, beginning with the top corner. Frenchic’s Trim Paint is a soft satin sheen and makes it easy and quick to cover all areas. A water-based, chalk and mineral paint, it’s designed for trims, skirting boards and doors. It’s also suitable for other interior woodwork, such as powder-coated radiators and other types of furniture. It can even be used on laminate. With a low VOC content and low odour, it’s the simple, straight-forward choice. And other than bare metal, you don’t even need a primer before you begin painting.
As radiators are not flat surfaces, be careful that the paint is evenly spread without it collecting in any recesses. These areas are prime spots for drips to build up in. Use a brush with little or no paint on and feather over these areas to spread any paint that has collected. Always feather from the top to the bottom and left to right to avoid creating pools of paint in crevices. Always check for drips as you go and brush them out quickly before they start to dry.
Leave the first coat to dry before applying the second coat. Always check the instructions on the side of the paint tin, as drying times can vary.
The next coat or coats
Once the paint is dry, it can be a good idea to give the surface a light sand. This will make sure that any dust particles that have settled into the paint while it was drying, are smoothed out.
Using a radiator roller or sprayer
You can use a radiator roller – or even a paint sprayer if you have one. Again, be careful about drips and anywhere that paint collects in recesses or around edges. Using a roller is a great way to paint quickly and efficiently as it covers more of the surface in less time. Feather the paint off with a paintbrush when you’ve finished for an even look.
Things to remember
- Your radiator must be stone cold when you start painting. Leave it off for at least 48 hours before turning the heat back. When you do so, it is best to increase the heat slowly. Full curing (hardening) can take up to three weeks.
- Check out Frenchic’s Fan Forum on Facebook for more inspiration or browse through the vast range of products on the website.
Getting the best results
Remember, preparation is the secret to a successful job! For the best results don’t take shortcuts when it comes to preparation and painting your radiator. That way, you’ll end up with one that looks brand new!
