


Key FAQ Points:
- You can use vinyl wraps on rounded edges and curved surfaces with great results.
- Start by applying your wrap to any flat surfaces, leaving curved edges and corners for afterwards.
- Use a hairdryer to heat the wrap, which makes it more malleable.
- For rounded edges, pull it tight around the bend or contour – use your smoother to press it firmly into place.
- For larger curved surfaces, smooth it out from the centre towards the edges with your smoother. Tackle one section at a time to avoid creases.
- When finished, cut off the excess material for a precise finish.
---
Vinyl wraps make it easy to revamp lots of different items, from kitchen cabinets and worktops to pre-loved pieces of furniture. They work best on flat, smooth surfaces such as flat-pack furniture. But that doesn’t mean they can’t be used on rounded edges and curved corners – you just need the right know-how, plus a hairdryer to hand...
Wrapping the simple parts of your furniture
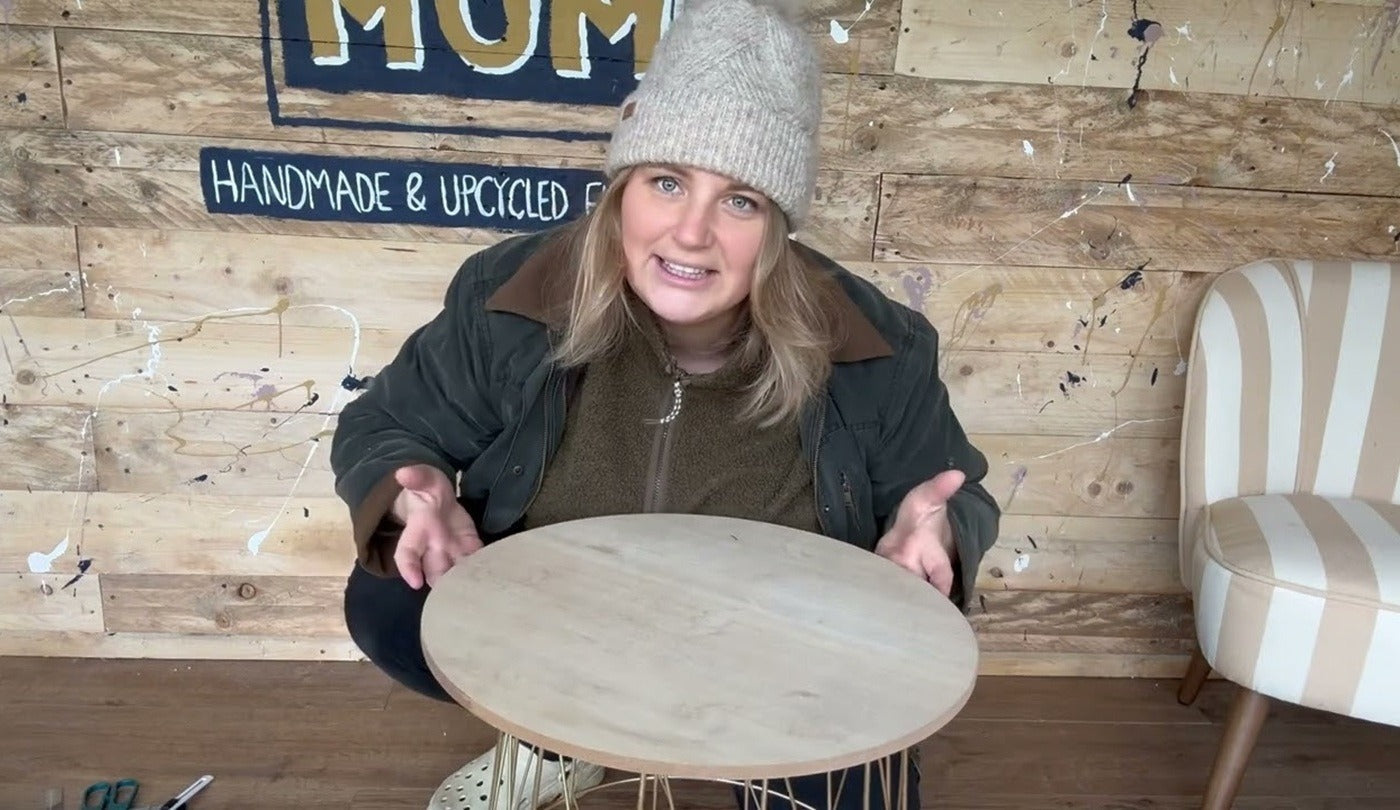
If you’re wrapping a piece of furniture which has both flat and rounded elements, it’s best practice to wrap the flat surface first. For example, if it’s a round seat on the top of a bar stool, it’s easier to wrap the flat top first, then tackle the round surface afterwards with the excess material at the edge.
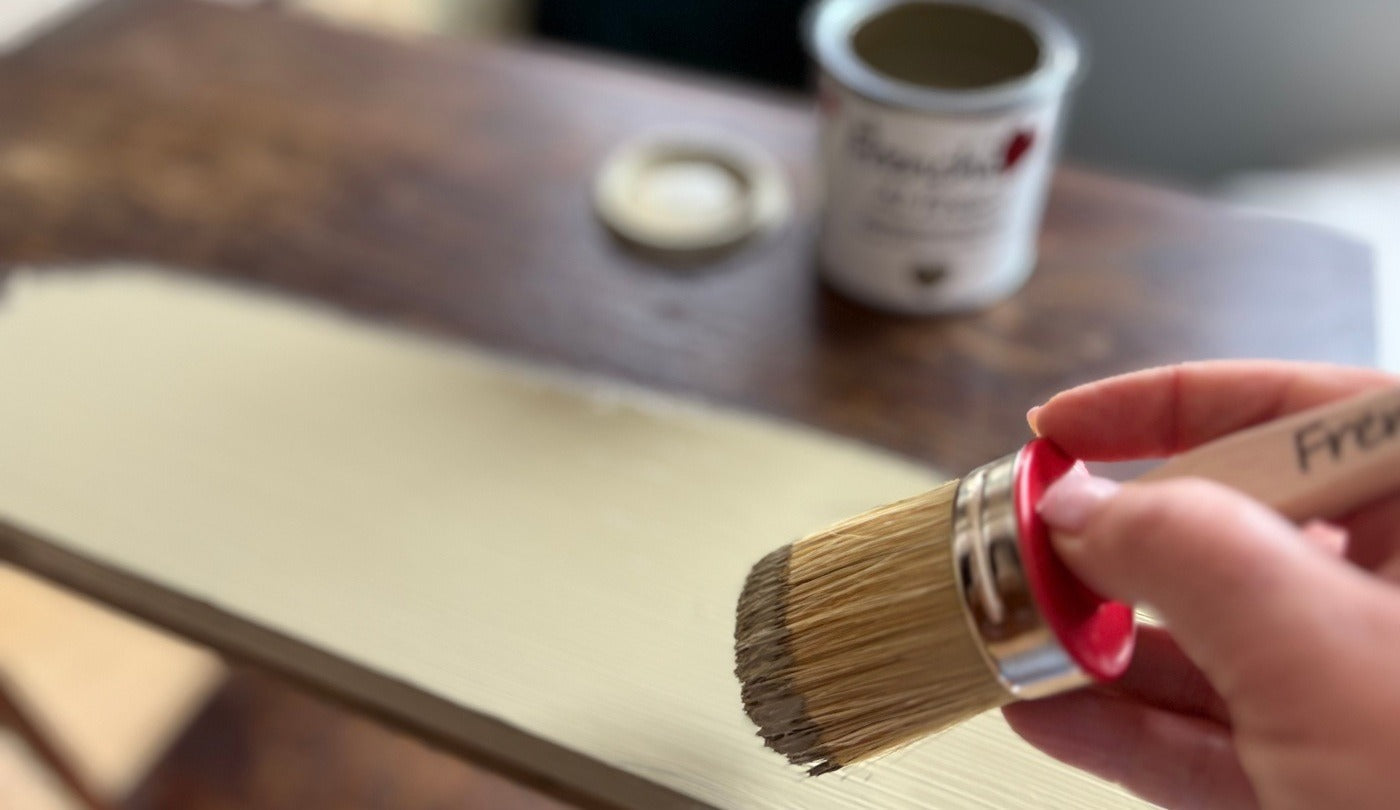
As a summary, you should clean the surface with Sugar Soap, then cut your wrap to size (but leave a bit extra to ensure full coverage). Peel back the protective film on the wrap and apply it to your surface, using a smoother to iron it out and work out any air. Frenchic’s application kit includes a smoother to make things easier.
You can find out more about in these handy guides:
Wrapping rounded edges – the hairdryer treatment
Onto the main event – wrapping rounded edges and corners. The trick is to heat the wrap, making it more malleable so it hugs those bends and contours neatly.
Use a hairdryer to heat the wrap as you go, pulling it over the surface as tight as you can using the excess material. Be careful not to overheat the wrap, as it could distort or damage the material. That said, Frenchic’s vinyl wraps can withstand temperatures up to 70°C.
If necessary, you might want to use the smoother to flatten out the wrap over the bend too. Finally, cut off the excess material for a precise finish. You can see how it’s done in this video by DIY Mum, Kayleigh Sherbourne:
Wrapping curved surfaces
The steps above are best for flat items with some rounded details, such as the ends of tables, curved cabinet corners or rounded furniture edges. However, it can be trickier if you have a larger curved surface, such as a bombe chest or chair back.
Again, you’ll need a hairdryer to warm the wrap and make it more malleable. Then, the best approach is to gently stretch the softened vinyl over the curve. Work slowly, smoothing it out from the centre towards the edges with your smoother. Tackle one section at a time to avoid creases.
This may require some trial and error. However, Frenchic vinyl wraps are repositionable. That means you can adjust them as you go, so you don’t have to get it perfect the first time.
