How to Use Frenchic Finishing Coat – Three Different Ways
Looking to protect your most-used furniture? Maybe you want to change things up with a metallic finish or apply your favourite image onto the piece to make it unique. With our multi-purpose Finishing Coat, you can do all of this and more with ease.
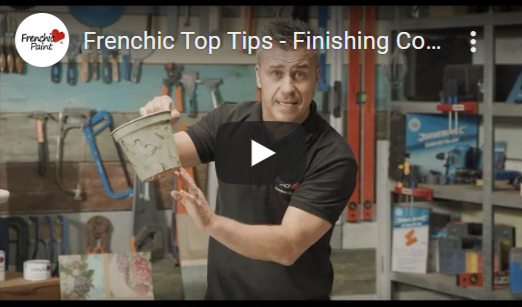
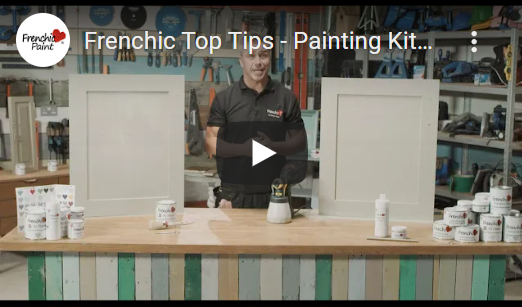
Watch the video or read on to learn how you can use Frenchic Finishing Coat in three different ways, to protect, seal or even decorate your chosen item of furniture.
About the product
Frenchic Finishing Coat is a water based, eco-friendly sealant, which provides a more durable finish than wax. It has a soft sheen and is great for protecting items of furniture that get a lot of use, as well as those prone to water splashes.
This child-safe product can also be used as a primer, for decoupage, or it can be mixed with our signature Frensheen mineral powders to create a metallic finish.
Tools
For the following projects, you will need:
- Frenchic Finishing Coat
- A sponge and a small, firmer sponge for decoupage
- A paint or mixing tray
- Frenchic Frensheen mineral powder (in a colour of your choice)
- A paintbrush
- Spatula or something for mixing
- An image on thin paper, patterned tissue paper or a decorated napkin
- An item of furniture you want to seal or decorate
How to apply the Finishing Coat
Project 1 – Protect & seal
Painted your item of furniture with our paint from our Original Artisan Range? You’ll now need to seal it to protect it from any potential damage. Here’s how:
- Make sure your painted item is fully dry.
- Shake the bottle of Finishing Coat and pour some straight into your mixing tray.
- Dip your clean, dry sponge into the product and wipe off any excess on the side of the tray. Apply a layer directly onto the painted surface using a even, smoothing, brushing motion - as demonstrated in the video. Don’t forget to cover the edges too!
- Wait 30 minutes for the first coat to dry and then apply a second coat.
Tip: You can use our Finishing Coat and Waxes independently or together, but if using together, you must apply the Finishing Coat first! For example, if you are using a brown wax to create an aged look, seal the item with the Finishing Coat before adding colour with the wax.
Project 2 – Create your own metallic glaze for added pizazz!
If you love a bit of glitz and glamour, you can mix the Finishing Coat with one of our Frensheen mineral powders to create a metallic paint. Here’s how:
- Decant some of the powder into a mixing tray. Choose from a choice of five different colours – Bronze, Copper, Gold, Green and Silver.
- Next, add a small amount of the Finishing Coat and stir well until there is no powder left. You want to create a liquid, paint-like consistency.
- Then, using a brush, simply paint the mixture onto your chosen item for a shimmery finish. The best part – there’s no need for further sealant!
Project 3 – Decoupage
For something a little different, why not get creative and try your hand at decoupage? You can easily add a paper image of your choice, like wrapping paper or a napkin, onto almost any surface using our versatile Finishing Coat. Here’s how:
- Firstly, position the paper image onto your chosen surface to make sure it fits. If you’re using a decorated napkin, you’ll want to remove the excess layers of paper underneath – you just need the layer on which the image is printed.
- Next, pour some of the Finishing Coat into a paint tray and use a stiff sponge to apply it. You want to use a good amount of product and press it into the paper quite firmly, so that it absorbs fully and sticks to the painted surface beneath. If you apply too much, simply dab off any excess with the dry side of the sponge. If your image is on a thicker paper, you may find it helpful to apply a layer of Finishing Coat to the surface of the furniture first.
- Once you’ve applied the first coat, leave to dry and the apply a second coat later to protect it. Don’t worry if at first the surface of the item looks a milky white colour, the Finishing Coat dries fully transparent.
Starting your own DIY project?
For more inspiration and step by step tutorials from our Brand Ambassador Craig Phillips, subscribe to FrenchicTV on YouTube.
Whether you want to revamp an old sideboard, add your stamp to a plain item, or simply add more protection to your projects, our Finishing Coat has you covered. If you found our video helpful, don’t forget to give it a thumbs up!
