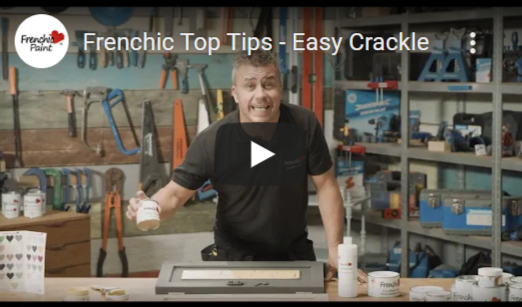
How to Get a Cracked Paint Effect with Easy Crackle
Looking to add a vintage edge to your furniture? Maybe you love shabby chic but want something a little different. If so, a crackled paint effect is for you.
Read on or watch this video to discover how you can achieve a DIY aged look using Frenchic’s Easy Crackle, with helpful tips from our brand ambassador, Craig Phillips.
The Product
Easy Crackle is a water-based product that you can apply between two contrasting paint colours in order to add an aged look to your furniture. The first colour determines the colour of the crack and the second, overall colour, reacts to create the aged look - perfect for any of you vintage lovers out there.
This product is also EN71:3* certified, making it safe for use on children’s items.
Tools
For this project, you will need:
1. Frenchic’s Easy Crackle
2. Two contrasting paint colours – check out Frenchic’s Artisan & Lazy Ranges
3. A flat paint brush
4. Frenchic’s durable Finishing Coat or an odourless Finishing Wax
5. An item of furniture you want to age – this product works on most surfaces, but is most effective on wooden furniture.
Instructions
Step 1 – Prepare the furniture
Once you have your piece of furniture, make sure the surface is clean and dry before you begin painting. Start by applying your chosen base coat all over your chosen item and then leave to dry completely.
Step 2 – Apply the crackle
Next, you can move on to applying the ‘crackle’. Using a flat brush, lightly apply a thin coat of Easy Crackle to the area you want the effect. Take your time and try to make it as neat as possible. Make sure you wash your brush in warm water afterwards.
Tip: If this is your first time attempting a crackle effect, we recommend that you practice on a piece of scrap wood first, before you take on your main item.
Step 3 – Add the second colour
Once the Easy Crackle has fully dried, you can then add the second colour. With a clean brush, apply your chosen paint directly over the layer of crackle.
To do this, use the edge of your brush at roughly a 70 degree angle, being careful not to apply too much pressure. You’ll need to work quite quickly as the product will start to dry straight away and the crackle effect will begin to appear.
Tip: the thicker you apply this top layer of paint, the bigger the cracks.
Step 4 – Seal the paint
Finally, you’ll need to seal the paint. There are two options depending on your needs.
For heavily used items of furniture, or those prone to water splashes, we recommend using Frenchic’s Finishing Coat. This non-poisonous, chemical-free product is safe for both people and the environment.
Alternatively, you can use a clear Finishing Wax to finish off your project. Frenchic’s waxes are soft enough to apply with a brush, but durable enough to protect your furniture.
Starting your own DIY project?
For more step by step tutorials from Frenchic Paint Brand Ambassador, Craig Phillips, subscribe to FrenchicTV on YouTube. You can also explore alternative paint effects that can be achieved with our products on our inspiration blog.
Whether you want to paint ceramic tiles, prepare surfaces before painting or apply a finishing coat, we’ve got you covered. Don’t forget to give our video's a thumbs up if they have helped you!


