


How to Prepare, Paint and Transform a Wooden Table
Old wooden tables can sometimes develop a dark, orange tinge. This is because, over time, surface oils, stains and natural decay can affect the wood's colour. If you have a wooden table that you’d like to breathe life back into, Frenchic’s paint ranges have exactly what you need.
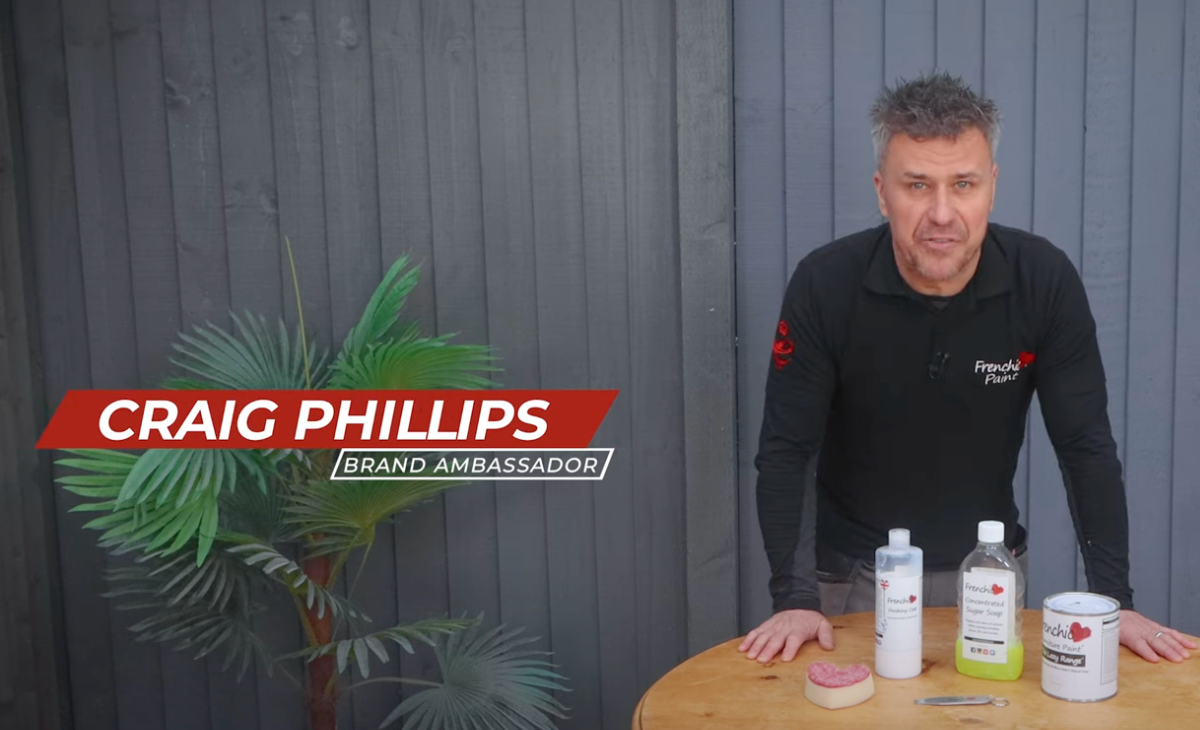
In the video above, Frenchic brand ambassador, Craig Phillips, offers expert advice on removing the varnish and preventing the orange tinge from returning – leaving you with a lighter, durable finish.
Read on as we guide you through his advice.
What you’ll need
- Sugar Soap
- Sponge or cloth
- Sandpaper
- Sanding pad
- Frenchic’s Oval Brushes
- Finishing Coat or Tuff Top Coat if the surface is porous
- Frenchic Trim Paint, Chalk Wall Paint, Al Fresco paint or Lazy Paint, all of which are self-priming so they reduce preparation.
Preparing the table
Begin by cleaning your table with a mixture of concentrated Sugar Soap and warm water – using roughly 10% sugar soap in the mixture.
Use a sponge and firm scrubbing brush to clean. This helps remove grime and any sticky residues effectively.
After scrubbing, take a damp cloth to wipe off the dirty mixture. You might need to rinse and repeat the cleaning to ensure all dirt is removed.
Ready to sand
Sanding is a crucial part of the preparation process, regardless of the finish that will be applied – but the amount of sanding differs. In this video, Craig needs to prepare the table base for painting, so he only needs to lightly sand it ready for the paint. But the top needs to be completely stripped of its existing varnish so the surface is ready for application of the new finish.
For tough sanding jobs, it’s best to start with low-grit sandpaper and work to higher grades as you go. Using an electric sander will make this process much easier.
Remember to always wear a dust mask before you start sanding. And use a vacuum to get rid of any dust and debris.
Painting your wooden table
Now you’ve prepared the wood, it’s time to paint it. Since Craig uses Frenchic trim paint for this project, which is self-priming, he can skip applying a primer and move directly to painting.
For the table base, Craig uses Frenchic’s Trim Paint range, in the off-black colour Panther, which is perfect for this type of project. It has a subtle, soft sheen that fits into any décor.
If you prefer the matte look, give your wooden table a chic look with the Al Fresco range or Lazy Range.
For the table top, Craig mixes Finishing Coat with a little Lazy Range Whitey White to make a thin glaze. Once applied, it dries semi-transparent, allowing the wood grain to show through whilst lightening the tone and preventing the orange tinge from returning.
Read more on this subject in ‘How to Lighten Pine Wood & Remove Orange Tones’
Apply a minimum of two coats for the best possible results, painting with the grain in the wood. Make sure that you leave the right amount of time for in between coats, following instructions on the tin.
Frenchic’s Oval brushes are perfectly suited to any type of paint and give the smoothest finish. You could also use a smaller brush for any detailed areas on the legs of the table.
Top tip!
For the table top, Craig recommends using a final coat or 2 of Frenchic’s Finishing Coat over the glaze. This will ensure a tougher and more durable surface. You can apply with a brush or a sponge. If you prefer a more matte look, you could use Tuff Top Coat.
Ready to transform your table?
Painting a wooden table is made easy with Frenchic paint ranges. Watch Craig’s video and follow our step-by-step guide to paint your table and give it a fresh, new look.
To stock up on your ideal colours, find your nearest Frenchic stockist today. And be sure to tag us in your finished project on Instagram @frenchicpaint.

