


How to Prepare, Paint and Transform a Wooden Bench
Do you have an old wooden, garden bench that you want to bring back to life? Cleaning, sanding and repainting can do exactly that if the wood is in a decent condition.
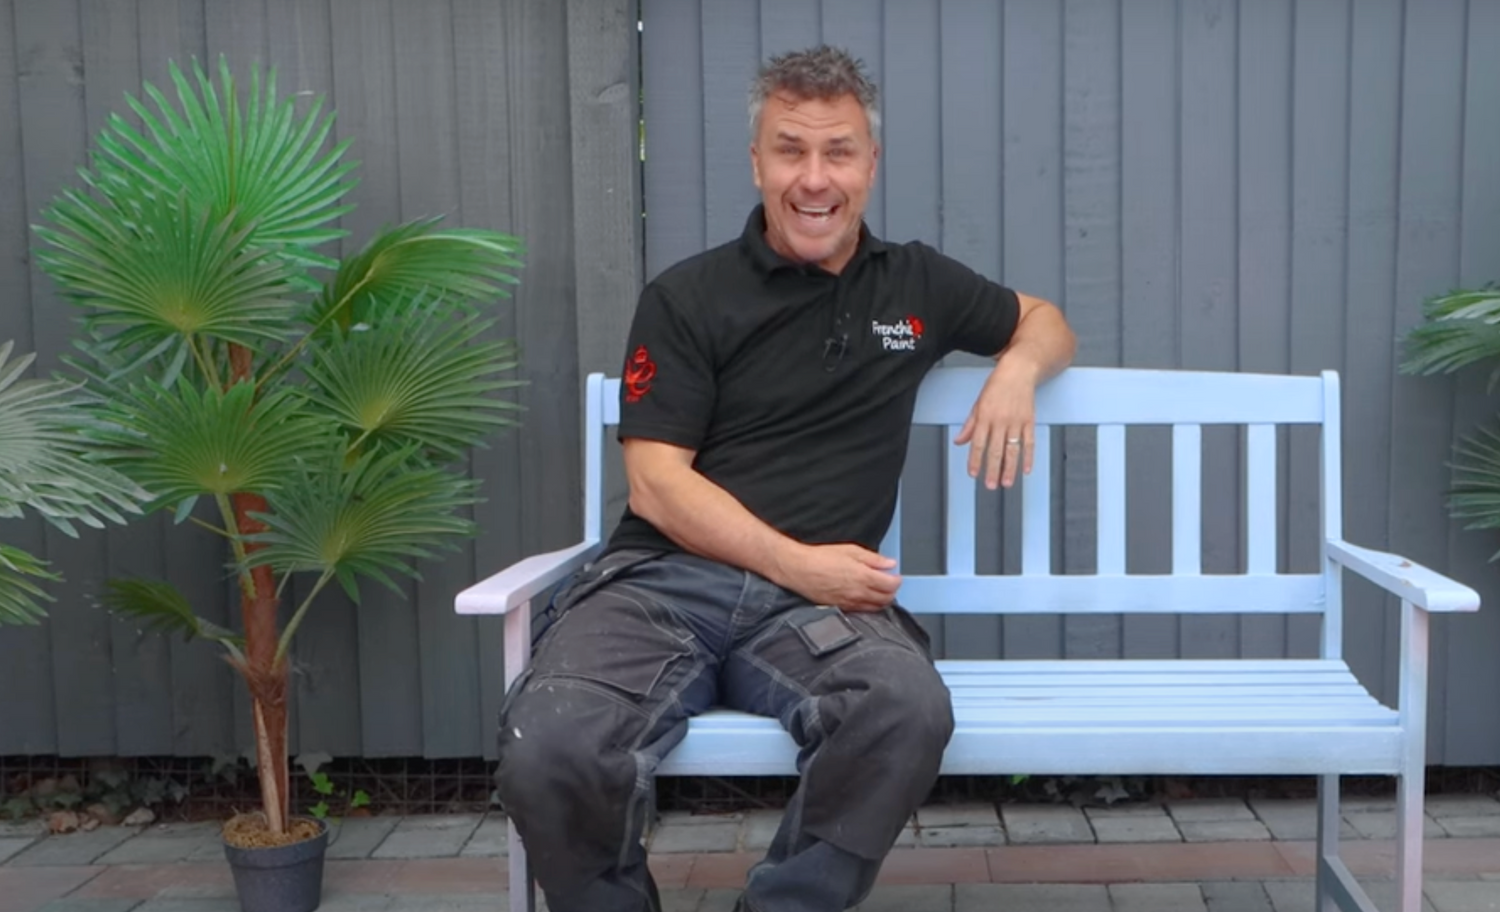
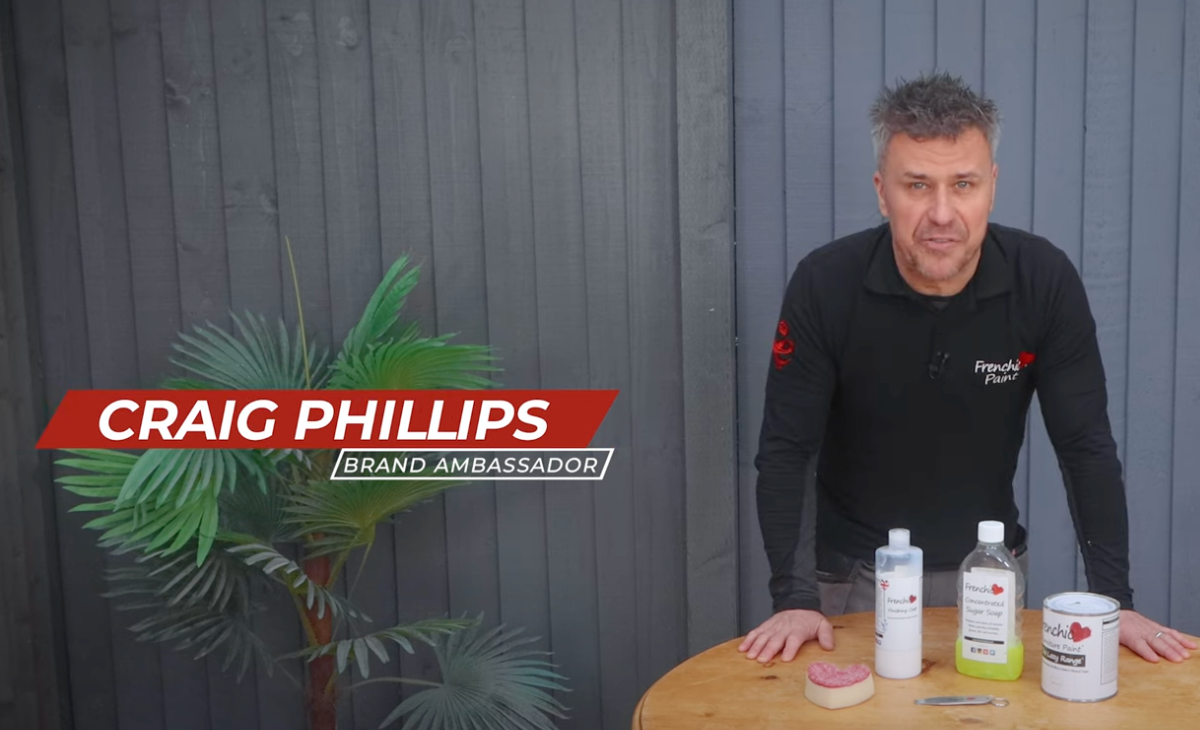
In our video guide, Frenchic ambassador Craig Phillips demonstrates how it’s done. Read on as we run through his tips, tricks and all the necessary steps.
What you’ll need
- Sugar Soap
- Sponge or cloth
- Sanding pad
- Optional – angle grinder/orbital sander
- Standard Oval Brush
- Frenchic Finishing Coat
- Al Fresco paint
- Filler and screwdriver (if necessary)
Preparing your bench
Start by cleaning the bench thoroughly. A good tip is to use a pressure washer to really get the obvious dirt and debris from the whole surface.
But you will also need a bit of good, old fashioned elbow grease. Mix concentrated Sugar Soap (around 10%) and warm water, and scrub down the areas you want to paint with a scrubbing brush and damp cloth.
You can even use an old toothbrush when cleaning to make sure you get into those difficult-to-reach places.
Wipe off the suds with a damp cloth and rinse with some clean, cold water. If the surfaces need a second scrub, repeat the process with a mixture of fresh warm water and Sugar Soap. If you’ve had your bench outside, make sure it’s completely dry before painting – which could take longer than 24-28 hours if it has been outside soaking up moisture for a while.
Preparing the wood
Once it’s dry, assess the condition of the existing paintwork and the wood itself. Inspect for chips, areas where chunks of wood are missing or flaky, and sections where damp has grown. If any of the wood has begun to rot, painting isn’t advisable.
The next stage is to scrape off all the flaky paint, give the bench a heavy sanding down and do any repairs you need to the wood. This will make sure that you end up with a smooth surface that will take the paint well.
Use a rigid scraper when removing any flaky paint. You could find that the paint is blistering around the underside, so pay special attention to all four legs. Once you’re ready to sand, for a really thorough job you can use a 4-inch angle grinder, or an orbital sander, with a coarse 80-grit sanding disc. This is effective, especially if you are removing quite a few layers of paint.
The best way to sand any difficult-to-reach areas is to do it by hand. Use a piece of sandpaper, making sure it’s fine enough to fit in those small hidden areas.
Repairs
Now, turn your attention to any repairs that your bench may need. Fill in any holes with a suitable exterior filler, tighten any loose legs, clean up dowels and replace old screws if needed.
When reattaching dowels to strengthen or repair the bench legs, Craig uses a hybrid polymer adhesive, applying it to the base of the dowels and the adjoining holes. (Alternatively, you can use a polyurethane glue or good strong wood glue).
If your bench has any damage on the surface of the arms and legs, use an external wood filler. Craig uses a two-part epoxy, where a liquid hardener is added to a liquid resin. Leave your bench overnight to dry, and the filler can then be sanded and sealed, ready for painting.
Always remember to always wear a dust mask when you’re sanding down any surface.
Now, it’s time to apply Frenchic’s Finishing Coat on all surfaces. Use a brush to apply, firstly to all the bits you’ve repaired, as well as the bare wood. Leave for 30 minutes before applying across the whole bench. You may not know what types of paint have been used previously, so the Finishing Coat gives you a nice even starting point when painting.
Painting your wooden bench
Now, it’s time for the fun stuff. Once you’ve chosen your preferred colour, you are ready to begin garden bench painting. Frenchic’s Al Fresco Inside/Outside water-based range is a UV-resistant chalk and mineral paint. It gives a smooth, low, flat finish, meaning it’s perfect for wood.
Craig uses Hot Lips, a stunning, bright scarlet-red colour. But if you want a different look, the Al Fresco range has 26 best-selling colours to choose from.
It doesn’t really matter where you start. But for efficiency’s sake, consider starting from the top and concentrating on the seat first. This will give you the sides to lean on as you paint.
Top tip when painting – Be careful not to let paint congeal around where the slats join with the bench legs and sides. Paint with the wood grain, but don’t worry if you need to change direction with your brush to smooth out any congealed paint.
Number of coats
The Finishing Coat will seal the wood and any repairs you’ve made. Applying the first layer of paint will cover much of this but can still end up slightly patchy. Once the second and third coats are applied, you will be left with a solid, even colour that shines!
Leave around two hours between each application to make sure the paint dries.
And if you like to use a paint sprayer, remember to dilute Frenchic paint with 5-10% water. Make sure to add an extra coat of paint, as using a paint sprayer means the paint will be thinner than when using a brush.
Protect the feet
If your bench is kept outdoors, it is naturally going to need some protection from the elements. Rain and cold temperatures tend to mostly affect the bench legs as they rest on the ground and can absorb moisture.
Craig has an idea to get around that. To stop the water travelling up through the legs, causing damage, he recommends attaching small rubber feet on the bottom of each leg. Screwed in, they are simple to attach and prevent any dampness affecting the wood – and consequently, the paint. These rubber feet are widely available and an inexpensive solution to a common problem.
Ready to start painting?
If you’ve got the itch to start revamping an old garden bench, Frenchic is on hand with the right paint for your needs. Our Al Fresco range is weatherproof, self-priming and self-sealing to give you the best results with only the steps above.
Find your nearest Frenchic stockist today to get started!

