DIY Summer House Makeover on a Budget
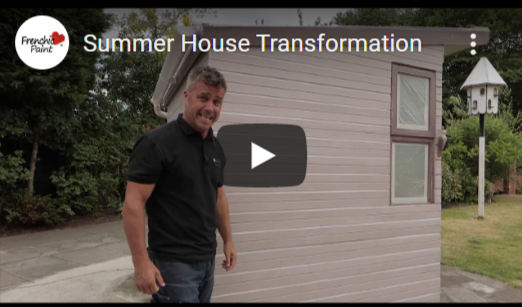
Like fences, summer houses and garden sheds are exposed to all kinds of weather and as a result, their appearance will change over time. However, this doesn’t automatically mean you need to replace it. Instead, you can save money by giving it a DIY makeover on a budget. Here’s how…
What you’ll need…
- Frenchic Al Fresco Paint
- Summer house or garden shed you want to revamp
- Hand-held paint sprayer and paintbrush
- Sandpaper
- Polythene masking sheet & masking tape
Method:
Step 1 – Sand & fill
As your summer house ages, the paint will fade and cracks can start to appear as the wood expands in the summer heat. That’s why it’s important that you fill in any cracks before starting your upcycling project and sand off any old paint to help the new coat adhere better.
Step 2 – Prep the windows
Painting a large item is much easier using a paint sprayer, but you need to be careful around windows and other areas of your summer house that you don’t want the paint to adhere to.
We recommend using a polythene masking sheet that you can simply stick along the top of the window and roll down into position. You can then apply more masking tape to the edges to secure it in place.
Step 3 – Paint
Unsure what type of paint you need? The Frenchic Al Fresco range is highly durable, child-safe and self-sealing, making it ideal for painting your outdoor furniture.
If you’ve never used a paint sprayer before, don’t worry – it’s easy! Just make sure that your hold the machine around four inches away from the surface and adjust the nozzle depending on the direction you want to paint.
When it comes to the window frames and any other detailed areas, use a flat or oval brush to get right into the corners.
Remember, to fully weatherproof your garden furniture, you’ll need two coats of paint. It’s also a good idea to remove the masking tape before the paint dries to prevent pulling any off from around the windows.
That’s it - you’re all done and ready for the summer!


