


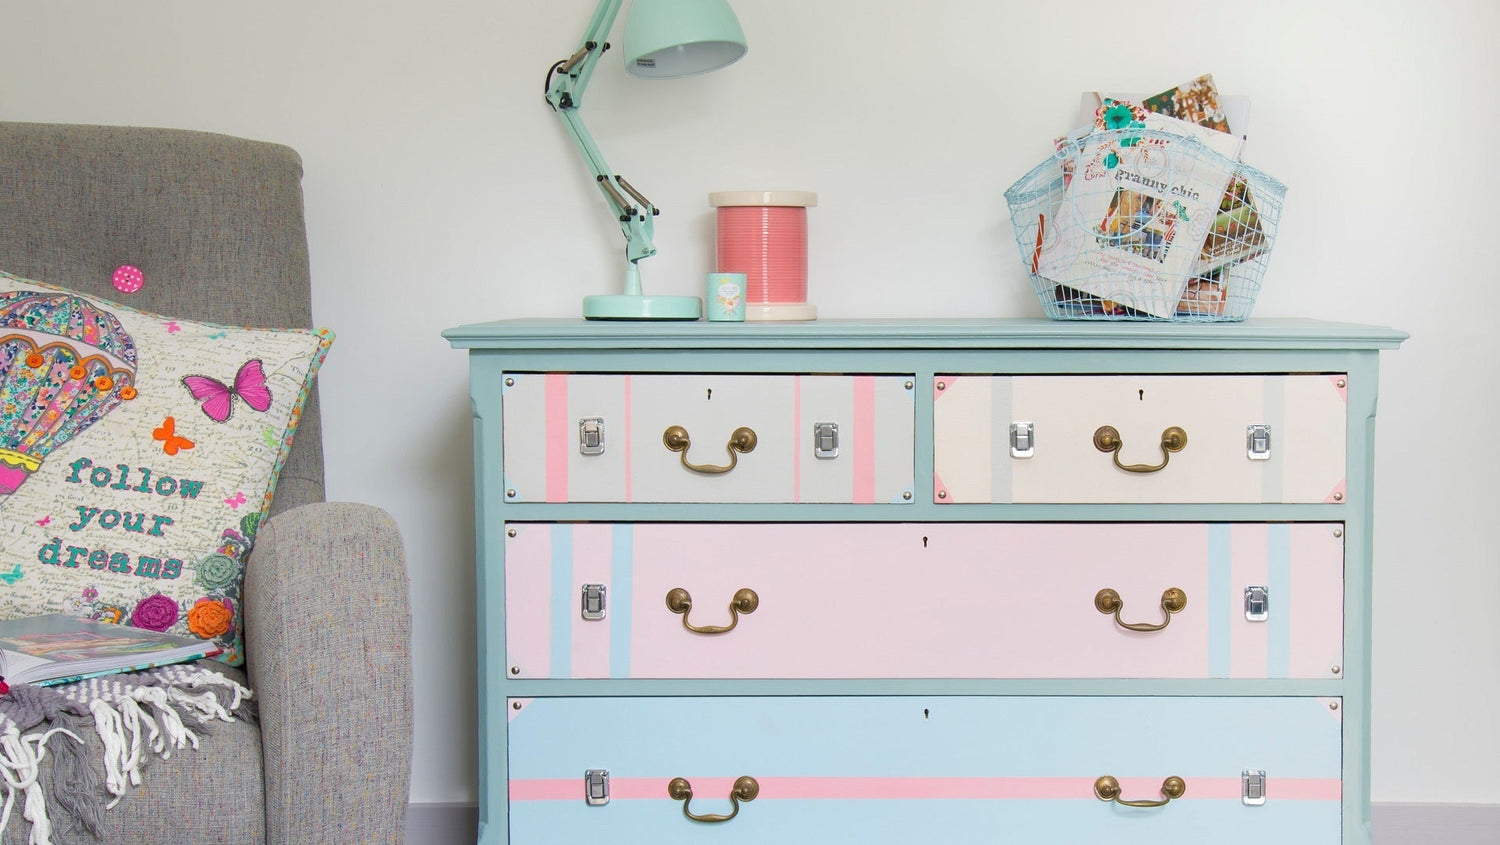
Chalk paint is all the rage right now – and for good reason. It requires little to no prep, distresses beautifully and is incredibly easy to use. Perhaps you have an old chest of drawers you want to revamp, some shutters that are longing for a new pop of colour, or even need a front door glow-up. Either way, chalk paint makes for a great distressed and shabby chic look or a smooth and seamless finish – whatever your preference.
To help you get started, take a look at our easy guide on what you need to know about applying chalk paint.
Why should I use chalk paint on furniture?
Chalk paint is low prep, eco-friendly, easy to clean up and works well in creating rustic, farmhouse style décor that is so sought after. It also works well in creating contemporary, full-coverage finishes on furniture from dressers and doors to mirrors and children’s toys. Whether you are planning on flipping furniture for profit, have items to upcycle or your kitchen needs a new lease of life, chalk paint is a great option.
How to apply chalk paint to furniture
1. Select your paint
As a rule of thumb, one litre of chalk paint should cover around 13 metres of your chosen surface. That’s approximately the equivalent of a medium-sized chest of drawers or two standard nightstands. At Frenchic, our furniture paint cans are 750ml – which will cover approximately 12.5 square metres per coat.
Because of the paint’s strong adhesive properties, it can be used on a range of materials, including metal, wood, glass, concrete and most other textiles. But not all chalk paints are equal, and you should put plenty of thought into a few factors before you get to choosing colours.
Firstly, self-priming paints remove the need for primer and undercoats, so you can apply paint once the surface is cleaned and prepared (more on this later). Secondly, some chalk paints are self-sealing while others require a top coat for durability. For the latter, you’ll need a specially formulated furniture wax or other appropriate sealant.
Additionally, there is the option of self-levelling paints. This means the chalk paint has a smoother finish with minimal brush marks. However, if you want a textured, distressed or layered look, you’re better going for a traditional style chalk paint without self-levelling properties.
Finally, consider outdoor paint if you plan on painting garden furniture and wall paint if you only want to cover interior walls. For more decorative paint, there is crackle chalk paint that gives your furniture an aged appearance with none of the elbow grease.
2. Buy a quality brush
Oval brushes can help you achieve a smooth finish when working with chalk paint, thanks to their domed profile and tapered bristles. If you prefer a flat brush, use one with bristles that are finer and softer with tapered ends.
Consider the width of the brush head too. Larger, flat surfaces are best painted with a wider brush – covering more surface area. However, for tighter areas and narrow sections, a smaller brush is ideal. Projects with paneling may also call on small detailing brushes, which is why it’s best to have a selection of brush shapes and sizes to choose from.
3. Clean the piece of furniture
To get started, clean the piece of furniture you’ll be painting. Give it a wipe down to remove any dirt and lint. A good scrub with sugar soap is recommended as all manner of things can resist paint adherence – including nicotine, grease and silicone polish. A light hand-sand to abrade the surface also a good idea to ensure the paint has a 'key' to grip.
4. Patch holes and scratches
Inspect your piece of furniture to identify any gouges or deep scratches that will need to be filled in before the painting can begin. Add a filler with a putty knife, level it out, then gently sand the surface until smooth. Again, make sure all dust has settled and been cleaned off before painting.
5. Tape where needed
Stick down masking tape where you do not intend to paint, such as doorknobs, handles or glass. This will help you create a neat edge while protecting the other material from paint.
6. Get painting!
Once you’ve laid down some newspaper or drop sheets, it’s time to get painting! Using your brush, apply the chalk paint, working your way up from the bottom of the piece of furniture. For a smooth finish, paint in long, sweeping strokes, going with the grain of the wood. Keep in mind that chalk paint dries fast, so work quickly to get the best effect.
If you are painting a dark piece of furniture a lighter colour, you may need three more coats for solid coverage. Fortunately, you won’t have to wait long in-between coats because the paint dries pretty quickly – check the tin for the correct timing. If you’re looking to create a more distressed piece, two coats of paint may be enough.
7. Distress (if desired)
While this step is certainly not necessary, it is a very popular trend. The key to natural distressing is to lightly sand the areas where a piece would naturally wear over many years and remove paint from there. Typically, this is around the handles or knobs, corners, along the edges and random spots here and there. Once you’ve sanded to create a distressed look, wipe down the piece one more time to remove any dust.
8. Wax to finish for traditional chalk paint
Wax helps protect your refinished furniture and add durability if you’re using traditional style chalk paint which isn’t self-sealing. It will help deepen the hue of the paint colour and keep it looking great for years to come.
Once the surface is fully dry, apply a clear chalk paint wax to your chosen surface using a wax brush. A small amount of wax will go a long way, so apply it conservatively to begin. Remove any excess wax using a fresh lint-free cloth. The wax will cure and harden, which can take between five and 21 days, depending on the room temperature.
9. Curing
Finally, you’ll need to allow time for the paint to cure. We recommend treating the finished piece with care for around three weeks. In this time, the paint (and wax if you’ve used it) will cure and harden, ensuring that all layers underneath it are completely dry and the finished piece will have maximum durability.
10. Stand back and admire!
Your piece is now ready to sell on or sit happily in your home. Now you can decide which piece you want to paint next!
Chalk painting has never been easier
Applying chalk paint to furniture is a fun and relatively easy task for all! Get started today by visiting Frenchic Paints for all of your chalk paint needs. Our high-quality, affordable brushes make painting easy and effective, while our variety of ranges give you plenty of choices for your paint.
Take a look at our full range of furniture painting products and get in touch with our friendly team who are happy to help you find the solution to transform your furniture.


