


Ceilings don’t always get as much attention as they deserve when it comes to decorating. They can be a bit of an afterthought and tend get to get painted white or off-white – even though there are other many other options. We’ve previously discussed how darker colours can be used on your ceiling for intimacy in small spaces, drama in large spaces or just a contemporary look in any room.
Whatever your preference, these different colours are used to direct attention wherever you want it to go. That’s especially important when painting wood beams on ceilings. When your ceiling has beams, it naturally draws more attention and can have a huge impact on a room. So, how do you paint wooden beams?
There are two sides to this question – how you should get the job done, and how you should paint them in terms of style. Read on as we provide answers for both. If you'd like to see the process, don't forget to watch this beam transformation with Frenchic's Brand Ambassador Craig Phillips.
Tips for painting wood beams
Let’s start with how it’s done. However you decide to treat or paint wooden beams, there are a number of things to consider. By getting everything in place, preparing both yourself and the area, you’ll find the job much simpler when your brush hits the wood!
Access
With wooden beams at the top of the room, it’s naturally going to be a little trickier to paint them compared to walls, doors or furniture. Make sure you have suitable access with a sturdy step ladder. Remember that painting can take some time, so it will need to be relatively comfortable to stand on – and high enough that you don’t have to strain yourself to reach the beams.
Sheets or cloths
What goes up, must come down. As careful as you might be, there’s always the risk of paint dropping from your brush or beams onto the floor. While it might seem like an extra job now, it’s always worth laying dust sheets or drop cloths down to protect your carpets, flooring and furniture when painting wooden beams.
Preparation
Next, it’s time to prepare the beams for painting. Clean them with Sugar Soap (one part with ten parts warm water) and allow them to dry thoroughly. Then give the whole surface a light sand over to ensure a long-lasting finish.
Masking tape
As with the sheets and cloths, it takes a bit more time to apply masking tape, but it can save you time and a lot of hassle overall – not to mention masking any slips of the brush. Our top tip is to remove the tape before paint is dry.
Self-priming paint
When choosing a wood beam paint, go for one that’s self-priming. This eliminates the need to buy multiple products and saves you time as you won’t need to apply multiple coats of primer and wait for each to dry.
That said, bare wooden beams can be quite porous and soak up extra paint. In this case, you can seal beforehand with a coat or two of Finishing Coat to make coverage easier.
Brush vs rollers
The age-old question – brush or roller? Small rollers can help with speed, but for the texture of beams, brushes are usually the best option.
Applying paint
Finally, you’re ready to paint. Apply your paint or wax (more on this later) with the grain of your wooden beams for a better finish. That means running brushstrokes in the same direction as the grain of the wood.
How to paint wooden beams – 4 ideas
Now onto the style side of things. In other words, what are the different ways you can paint wooden beams on your ceiling? In truth, it’s not all about paint – wax and sealants can also contribute to the amazing effects on your wooden beams. Here are four of our favourite ideas…
A natural-look hack for dark beams
Many a ceiling beam has been stained black or very dark brown. This can sometimes make the ceiling feel too dark or heavy. If you want to lighten things up, there is a great hack which allows you to give dark stained or previously painted beams an authentic-looking wood effect without going to the expense and mess of stripping the surface.
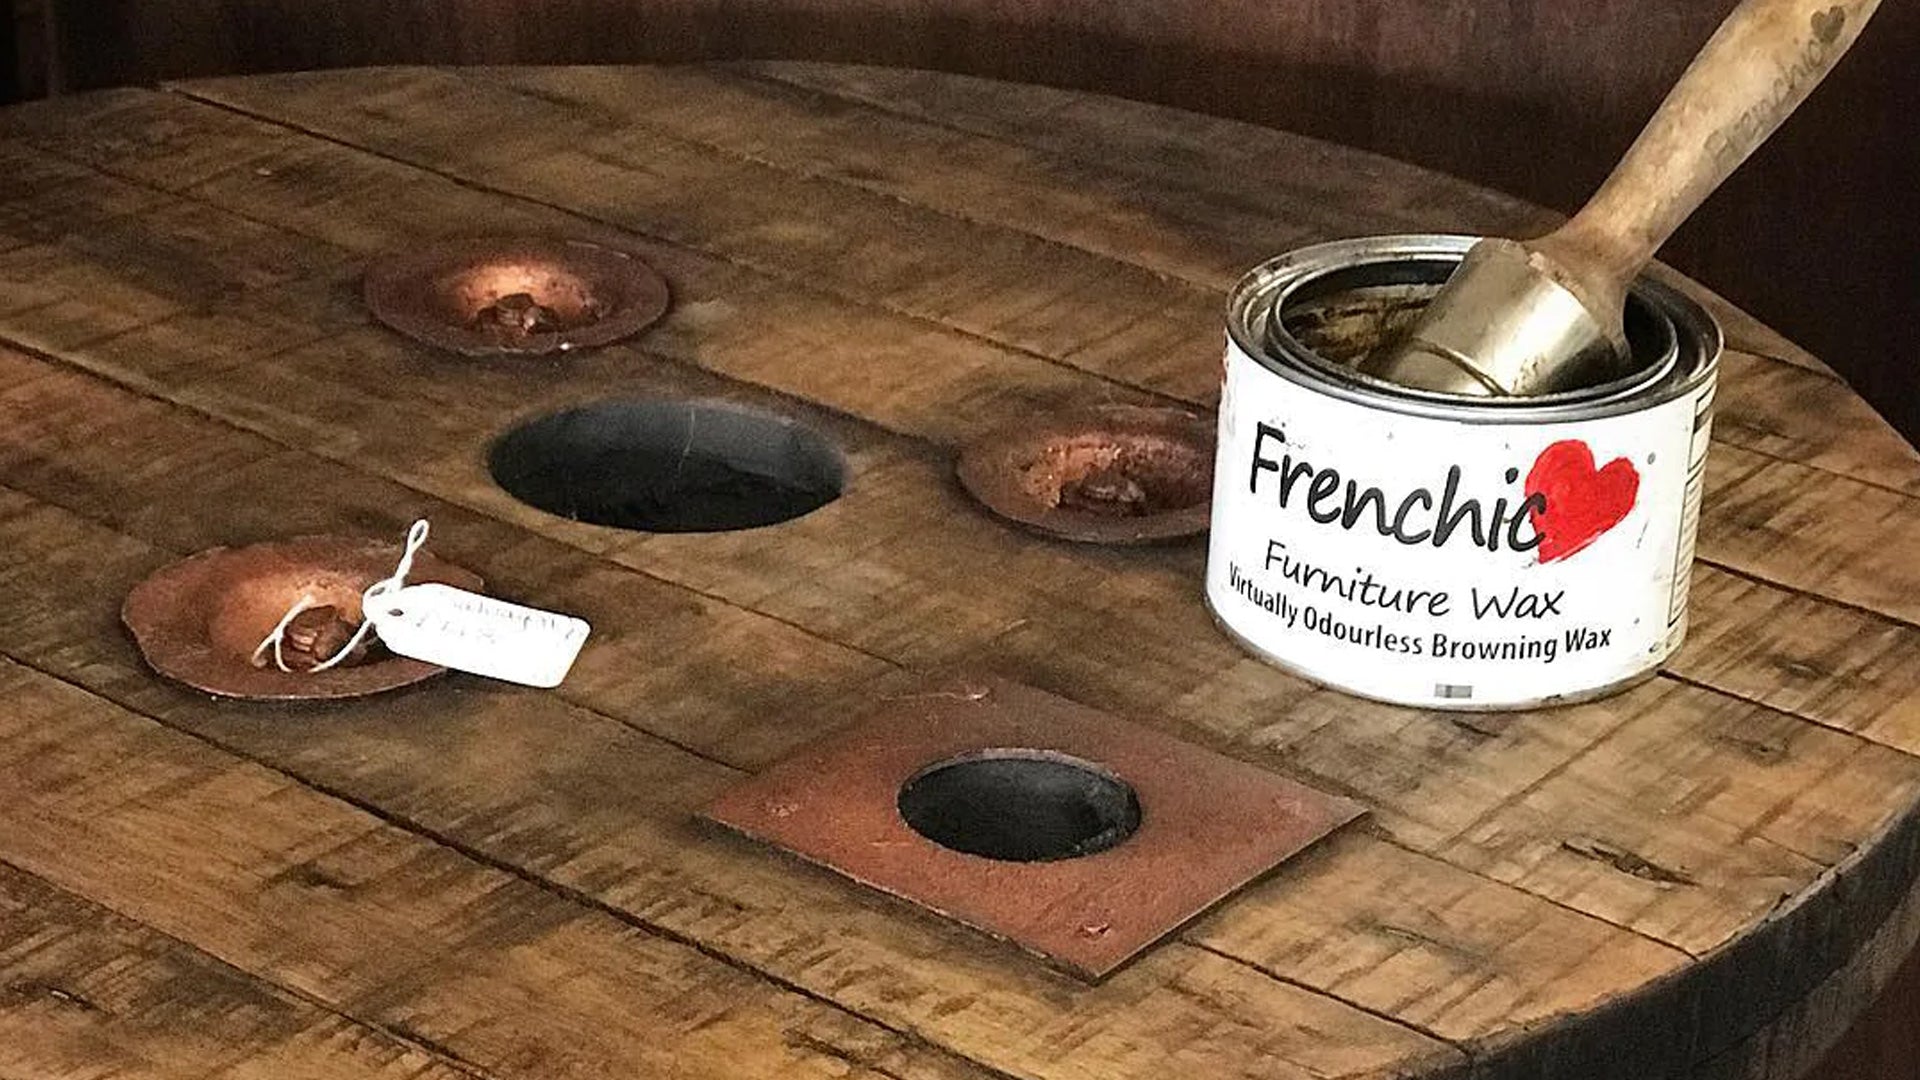
First, prepare with Sugar Soap and leave to dry – we recommend this tip for all of the ideas below too. Next, apply Lazy Range Crème de la Crème and finish with Browning Wax – it sits in the wood’s texture, looking amazingly natural.
Enhance the wood on natural beams
Got natural wood beams that are tired and dusty looking but don’t want a painted look? Enhance the wood. After preparing, treat with a furniture wax like Frenchic Clear Wax to nourish the wood and bring out its true beauty. Or use Browning Wax for a deeper look.
Then you can show them off to the max with whatever décor you want. Paint your walls and ceilings pale and neutral, warm and earthy, or even a bold, dark off-black if you dare. All will look totally fabulous with the beautifully restored wood.
Creating a whitewashed look
If your beams are unpainted or stained and you don’t want to lose the wood look completely, another option is to soften their appearance with a whitewashed or limed look. This means the grain and character of the wood are still visible, but the wood tone is lightened.
After cleaning as above, create a glaze using one part Whitey White mixed with five parts of either Finishing Coat or Tuff Top Coat. Apply with a brush or sponge, wiping off the excess as you go. This allows the white to sit in the grain of the wood for a beautiful, whitewashed look. Build up layers in the same way for a stronger effect. It’s fabulous for a coastal or beachy vibe. You could also try Frenchic White Wax for a similar look.
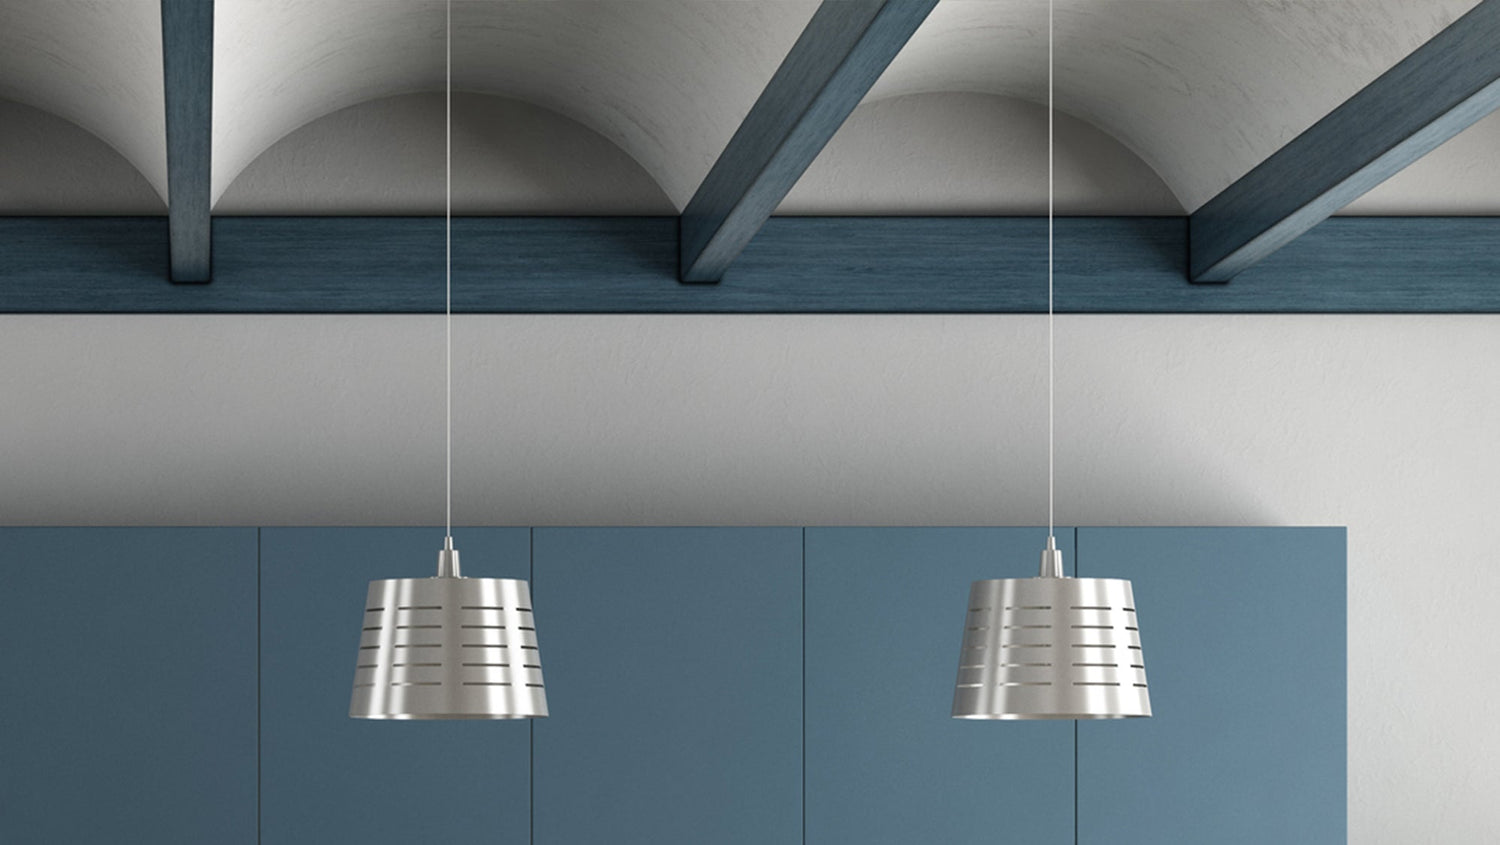
Using lighter colours
Are your wood beams making the ceiling look low, heavy or too rustic for you? Blend them in by painting the same colour as the ceiling. The lighter the colour, the lighter the look. This approach also knocks back the rustic feel, allowing for a more contemporary or neutral approach to your décor.
Another approach for a lighter look is to use a muted palette and paint the beams the same colour as the walls, with the ceiling a lighter colour. This gives a cohesive look while still keeping things light and contemporary.
Tackling beams that are not wood
This hack provided excellent results on wooden beams, but what if they're made from another material - like steel or plaster beams? Watch as Frenchic Fan Melissa (over at @___makingahouseahome) transforms a plasterboard steel beam into a rustic faux wooden beam with this easy hack!
Start with the best wood beam paint
However you choose to paint your wooden beams, it’s important to equip yourself with high-quality paint and wax products for the best finish. At Frenchic, we stock a wide range of self-priming paints and buttery waxes that can transform your beams with a long-lasting finish.
