Key FAQ Points:
- Look for EN71-3 certification to know a paint is certified safe
- Choose a water-based and low-odour paint
- Self-priming paint can also help limit baby-unfriendly paint odours
---
There’s nothing quite like the anticipation of a new arrival. Whether this is your first baby or you’re adding to the brood, it’s a special and exciting time. Getting ready involves lots of wholesome activities, from choosing names to shopping for baby grows. Preparing a nursery for your new little one is all part of the fun.
A brand-new cot can be costly with a baby on the way and you might be looking for ways to save. If this is not your first child, you may even already have a cot that’s in need of a revamp. If not, pre-loved cots can be found online, or you can buy new, unfinished cots ready for painting. You can then upcycle it in a colour of your choice using our specialist range of nursery furniture paint. Learn more below.
Choosing the best paint for cots
For peace of mind, choose your paint carefully. What makes a paint ‘cot-safe’? In the first instance, look for EN71-3 certification – a key category of European Union Toy Safety Regulations. This assures that the product has been through rigorous testing and is certified safe to use on children’s toys – an important consideration as babies and toddlers in particular do love to ‘mouth’ things as part of their learning about their environment.
Other qualities that are advantageous are that the paint is water-based and low odour. This means that the paint will be quick-drying and any ‘painty’ smell will quickly disappear once the surface has dried. The smell is due to the VOC element of the paint – these ingredients dissipate quickly and do not persist with water-based paints once dry.
A self-priming paint is also advantageous so you won’t need to use a smelly primer or undercoat!
Paint for cots
Once you’ve found a range of paint for cots, it’s time for the fun part!
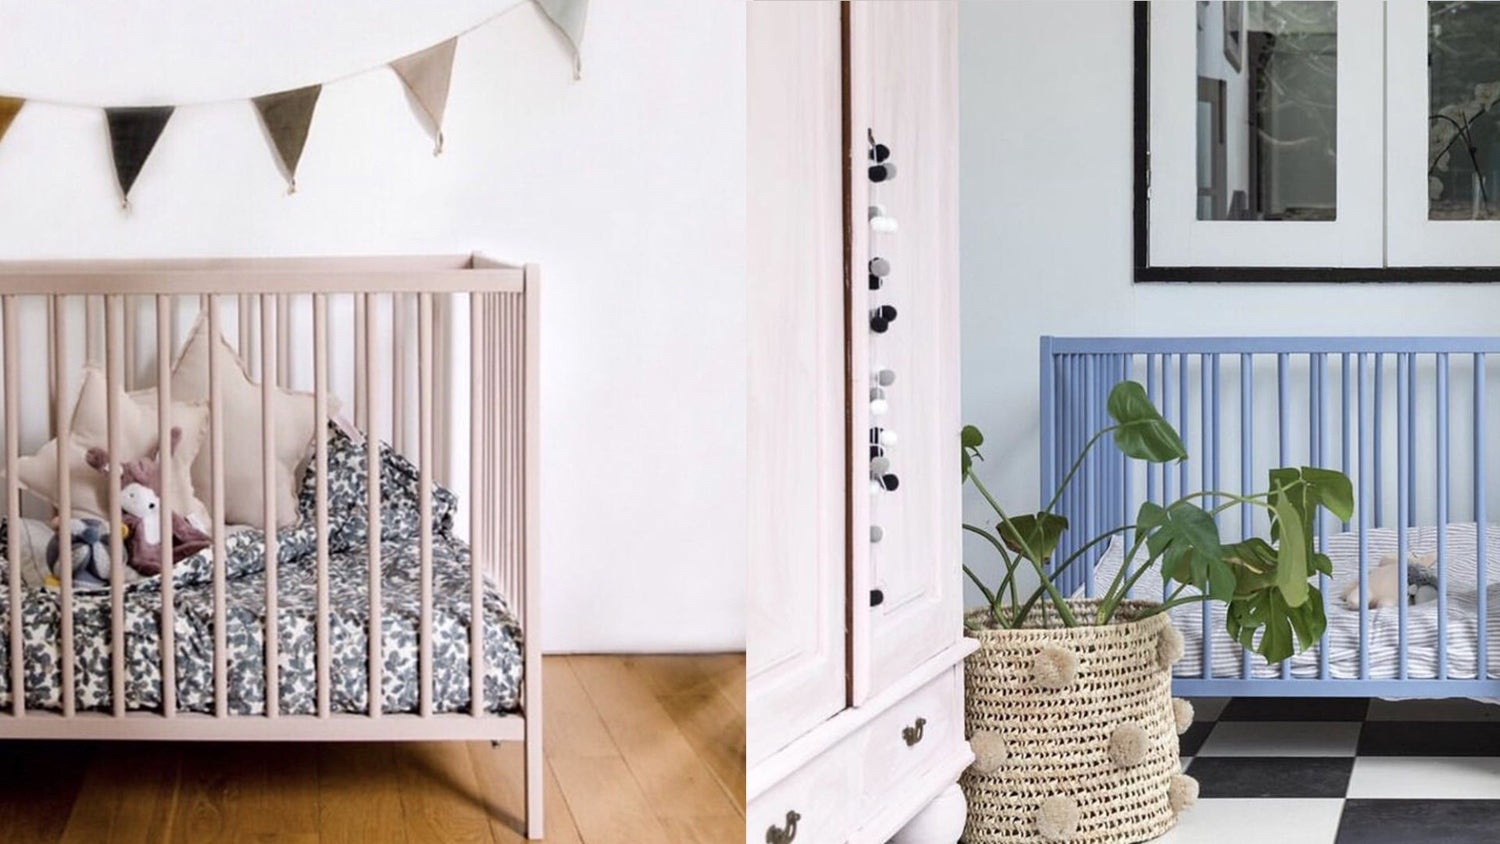
Preparing the nursery is all part of ‘nesting’, which is the natural urge to arrange your home for the arrival of a new baby. It’s a great way for you and your partner to feel connected to your latest addition. To help you, we’ve picked out some of our favourite cot paint shades, whether you’re looking for bold and bright or clean and neutral.
Best neutral paint colours for cots
As discussed in our blog post on the best neutral nursery paint colours, neutrals are becoming an ever-more popular choice for nurseries, whether you are planning a soothing, coastal-inspired scheme or a bold black and white design. Neutrals are also fantastic for making the most of natural light and for a creating a design that’s unspecific to one gender. For cots, we love warm-toned neutrals such as Cream Dream, Stone Rosie, and Funky Dora. Or you can go for a more classic look with a pure white such as Dazzle Me!
Best pastel cot paint
Pastels are a timeless choice for the nursery and they never fail to inspire a soothing atmosphere. Soft and ethereal Heavenly Blue is the perfect choice for your little angel, tying the cot in nicely with any sky or sea theme. You could also try vintage pink Dusky Blush for a soft and dreamy feminine feel, or Bon Bon if you’d prefer a pop of pink sweetness. Wise Old Sage is an enchanting shade of green with a grey undertone, halfway between a neutral and a pastel.
Looking for more of a statement?
Generally, it’s best to keep vivid or stimulating colours limited to smaller elements in the room. That said, you don’t need to stick to neutrals and pastels if they are not your thing.
Hot As Mustard is a lovely yellow which works well with a variety of themes and designs. Meanwhile, Ducky Trim paint offers a snappy duck-egg blue hue perfect for a magical underwater scheme. The cheerful Apple of My Eye green could be just the ticket for your little ray of sunshine, or go a little bolder still with the lovely deep blue Hornblower or smart charcoalish Smudge!
How to paint a cot
Once you’ve decided on your cot paint, all that’s left to do is get started:
- If you are painting a new, unfinished cot, skip straight to step three. If you are using an old cot, the first step is to check that it is in suitable condition for painting. This will include making sure there is no damage or sharp edges, and that it is structurally sound.
- Next, you’ll want to remove any fiddly items that may be hard to clean or paint around, such as latches and catches. If you’re not able to remove them, cover them with masking tape to avoid painting over them.
- Once that’s done, the next step is to scrub the cot to ensure it’s free from grease and dirt. You can use our sugar soap solution to effectively remove grime, then rinse and leave to dry fully before moving onto the next step.
- Next, a light sanding is recommended to improve paint adhesion and create a smoother surface for painting. Wipe dust away with a damp cloth and leave to dry.
- You’re now ready to paint your cot. Choose a high quality paintbrush- a smaller one will be easiest given the thin spindles of the cot. Follow the direction of the wood grain if it’s visible to promote a smooth finish. This will usually involve painting up and the down the length of the spindle, rather than round and round.
- Allow to dry in a well-ventilated area for a minimum of 48 hours to allow the paint to start curing. Full curing will be complete after 2-3 weeks so it is best to paint ahead of time if you can.
Find paint for cots at Frenchic
If you’re looking for more inspiration for cot paint, look no further than our nursery specific range. All our paints, waxes, and finishes are EN:71-3 certified. They are water-based, have almost no odour, minimal VOCs and are self-priming too!
You can also check our range of quality brushes to ensure the perfect finish, or take a look at our upcycling inspiration page for more ideas.


