


How to Prepare and Paint Wooden Wall Panelling
Do you have newly installed wood panelling? Is your existing panelling in need of a makeover? As long as the wood is in good condition, a deep clean, sanding and a new coat of paint can transform its look.
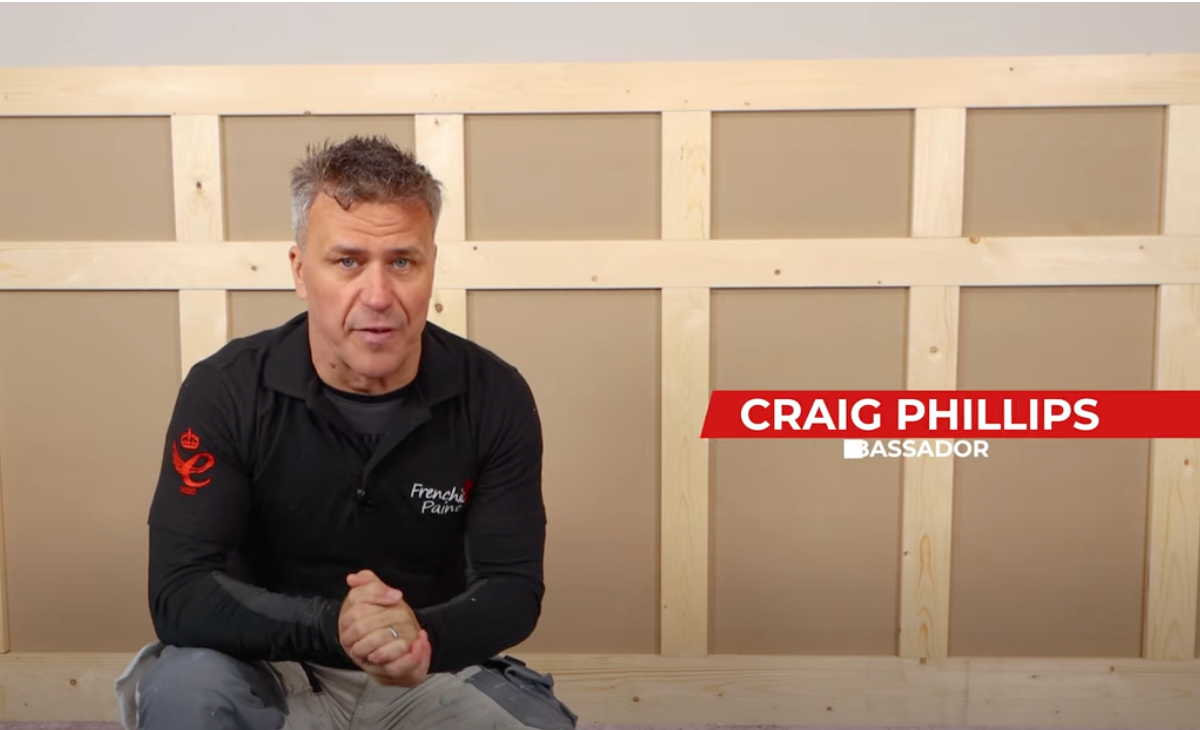
In our video guide, Frenchic ambassador Craig Phillips demonstrates how it’s done. Read on as we run through his tips, tricks and all the necessary steps.
What you’ll need
- Sugar Soap
- Sponge or scrubbing brush
- 240 grit sandpaper or soft sanding pad
- Paintable polymer sealant
- Roller brush
- Dust sheets and masking tape
- 30-50mm wide paint brush
- Frenchic Chalk Wall Paint or Frenchic Trim Paint or both
- Frenchic Finishing Coat for new surfaces
Preparing your wood panelling
You may have wood panelling at home that dates back to the Victorian and Georgian days. Chances are, it has probably been painted or vanished countless times over the years. For any existing panelling, your starting preparation will be cleaning.
Mix up some Sugar Soap, which is fantastic for cleaning a variety of different surfaces. Scrub it down with a sponge and scrubbing brush, dry it and then you’re ready for the next stage.
Protect the surfaces around the panelling by putting dust sheets down on the floor and masking up the walls above. This will be the first step if you’re painting new materials such as an MDF background with wood panelling around it.
Next, it’s time for the sanding. For new materials, we advise using a very light sandpaper of 240 grit or a fine sanding pad. Alternatively, if your existing panelling has already been painted or varnished, you’ll need to sand it down using a coarser sandpaper. A 120-grit sandpaper will work just fine.
For both options, brush off and vacuum up after sanding before continuing to the next stage. Remember to use a good-quality dust mask and keep all doors and windows open.
Filling gaps
Now the areas are clean and sanded, you can inspect them closer to see if any areas need filling. Look out for screws, nail heads or gaps where pieces of wood meet. There are various fillers you can use to fill these gaps. When applying this, make sure to give it enough time to dry. Once it’s dry, you can sand it down for a smooth finish.
After you’ve applied filler to the knots and deep areas, you may notice some gaps where the timber has been mounted on top of the backboard. Even in existing panelling, watch out for cracks. These gaps can range from 1-2mm. To fill them, use a paintable polymer sealant and run it around the edges, smooth it off with your finger, and leave it to dry.
It's advisable to use a flexible filler for this process, but whichever you go for, just make sure it’s not silicone-based as this can’t be painted over. When the filler is dry, give it a gentle sand – but don’t forget your dust mask!
Painting your wood panelling
Finishing Coat
The next stage is to apply some Frenchic Finishing Coat on any bare wood and new surfaces. Apply before you paint to seal the surface. This will stop the new wood and MDF absorbing moisture from the paint, allowing for a much smoother finish.
Once the first coat is dry, give it a light sanding and brush off any dust. You’re now ready to apply a second layer of Finishing Coat. Once this is done and dry, you’re ready to move on to the next step.
Applying paint
For this, we’ve used two different types of paint – Chalk Wall Paint and Trim Paint. We’ve used the Wall and Trim paint for two gently contrasting finishes. However, if you only have one tin available, you could use either paint across both surfaces.
Frenchic Chalk Wall Paint is velvety, luxurious and practical. It is water-based with an ultra-matte finish that gives excellent coverage. This revolutionary product is durable, breathable and totally scrubbable – with minimal VOCs and virtually no odour. But it’s not just for walls, it’s also great for ceilings and other internal surfaces such as woodwork, ceramic wall tiles and even wood and concrete floors. Our Trim Paint has all the same excellent qualities but with a soft satin sheen.
Once you’ve covered the wood panelling with your roller, you want to start cutting in around the edges, stabbing your brush into the corner. Make sure not to leave any areas unpainted. Feather the paint with your brush to spread it as evenly as possible.
You can apply the paint with a brush or roller, although a combination of both helps for speed and accuracy. Use a brush to cut in around any awkward, beaded or recessed areas and then roller the larger areas. To avoid the classic dimpled look that rollers can leave, feather over your rollered areas as you go. This smooths the paint.
When the first layer of paint is dry, examine your work. Run your hand across the surface to see if any sections need a light sanding.
Afterwards, you’re ready to paint it with a second coat. Remember to follow the manufacturer’s advice on the tin for the number of coats and recommended coverage.
What about spraying?
If you have a paint sprayer, you can certainly use it for your wood panelling. Your paint will need to be diluted by around 10%, which means you’ll typically need an extra coat than recommended on the tin. Make sure the surrounding walls, floors and fixtures are well covered as the paint sprayer can go off course a little more vigorously than a brush or roller.
Spraying is quicker than both rolling and brushing, but requires a little more preparation for the best results – you can decide which is best by reading our article on brushing vs rolling vs spraying.
Ready to get started?
If you’re ready to revamp your wooden panelling, Frenchic is on hand with the right paint for your needs. Our Chalk Wall Paint and Trim Paint ranges are perfect for projects big and small. Whether you’re painting woodwork, furniture or any other interior surface, you’ll get great results every time.
Find your nearest Frenchic stockist today to get started!

