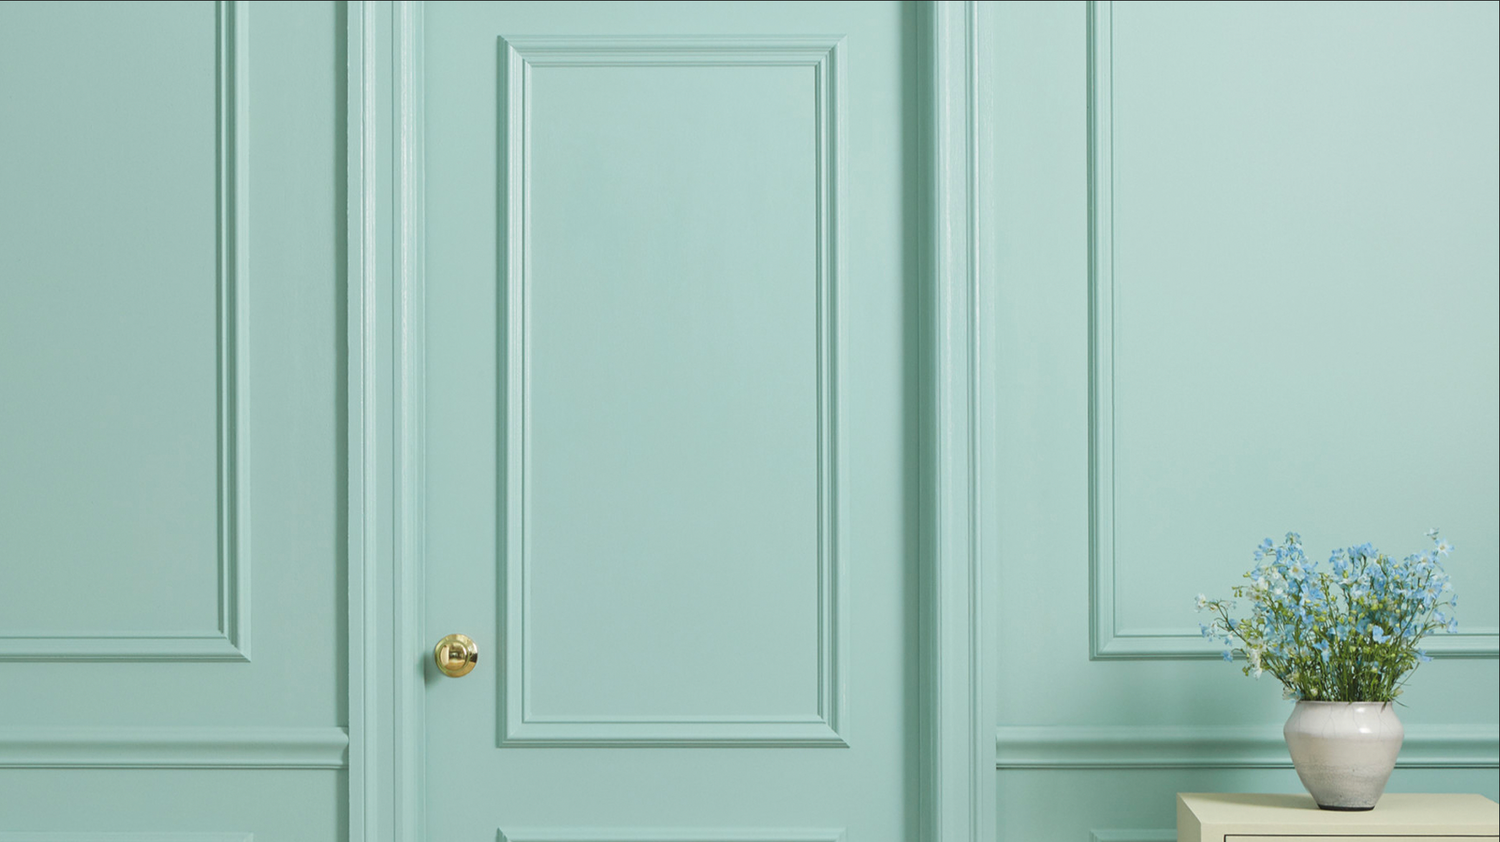
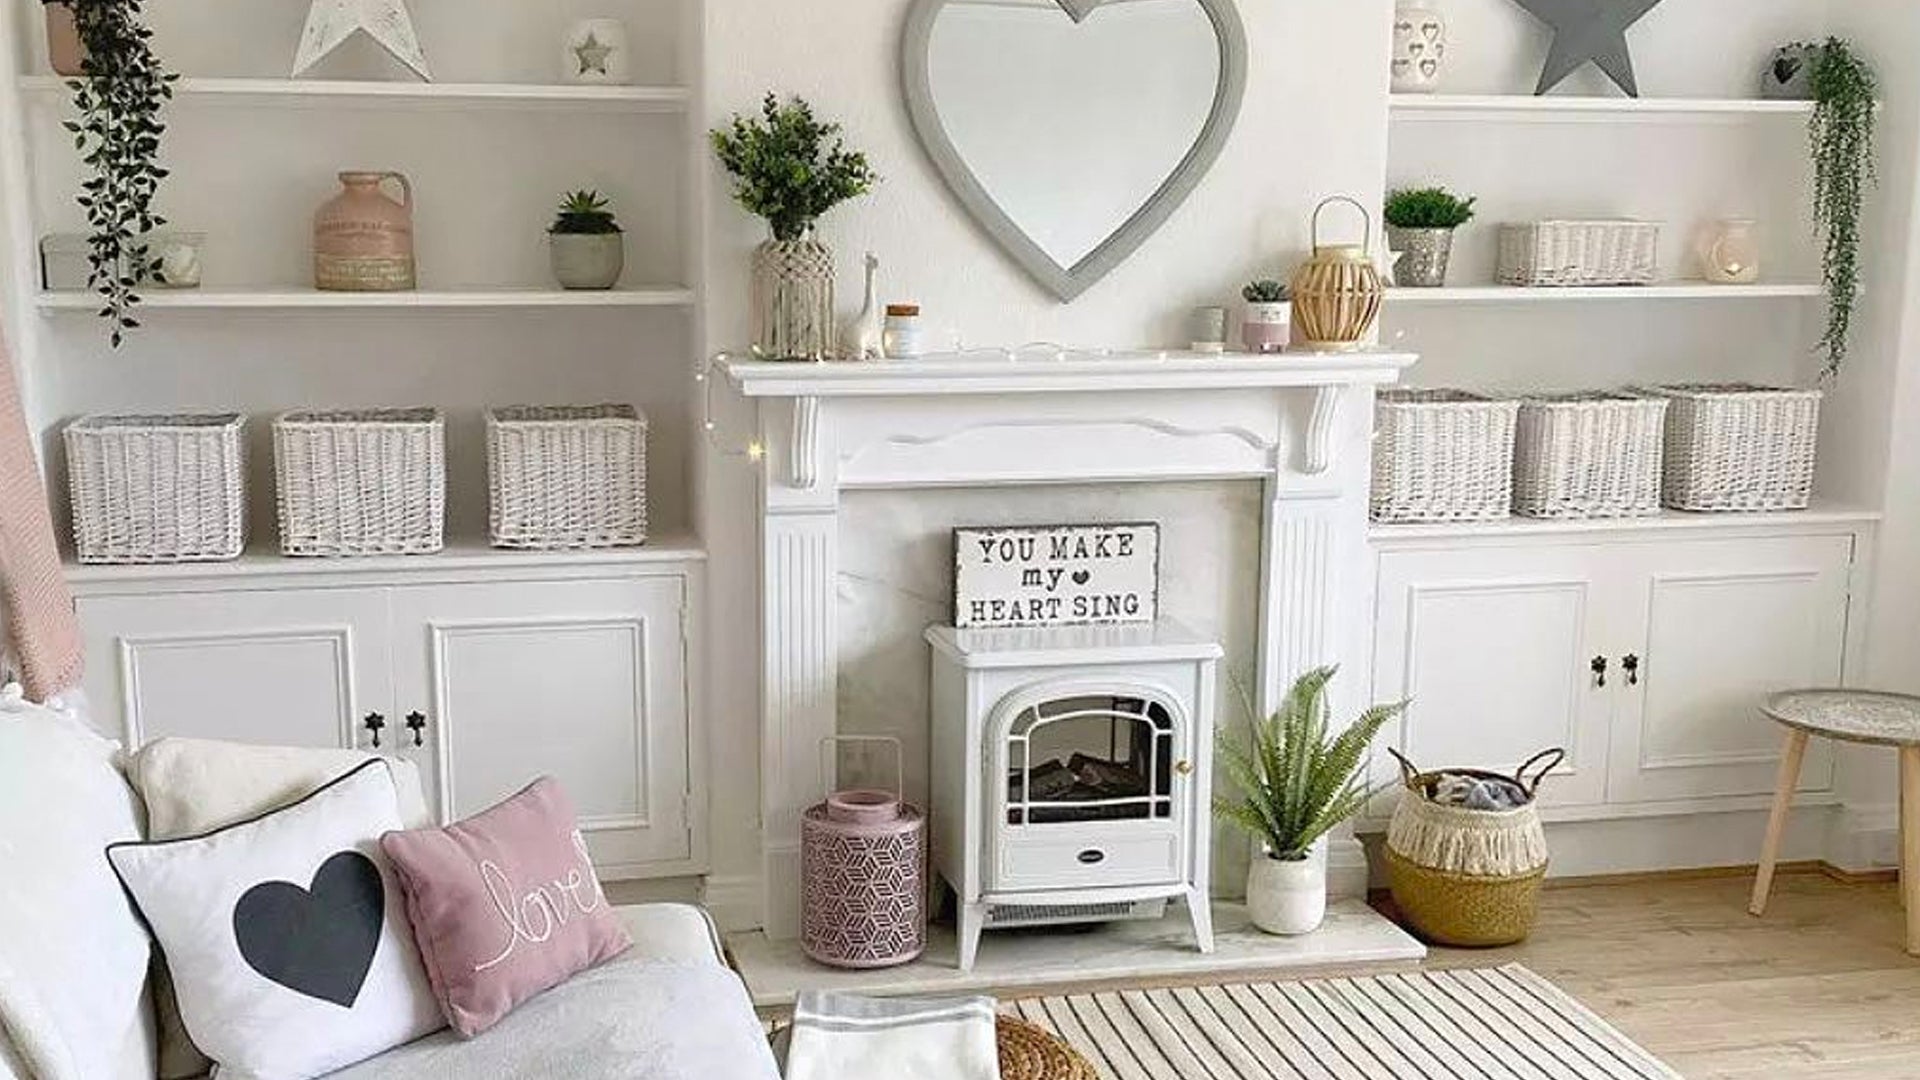
Move over pale and neutral interiors. Colour drenching is becoming increasingly popular – and it’s all about colour! Forget traditional white ceilings and woodwork. This trend focuses on the use of confident colours on trims to create a bold and cohesive look in your space.
Want to find out more? Read on as we delve deeper into colour drenching for interiors and some ways you can get on board.
What is colour drenching?
In its purest form, colour drenching involves the use of a single strong colour. Once you’ve decided on your shade, you use it on walls, woodwork and even the ceiling. This can then be continued with the same colour on soft furnishings and furniture.
It goes against the oft-cited 60-30-10 rule, which suggests that a room’s design should have three main colours – 60% of a dominant colour, 30% of a secondary colour and 10% of an accent hue.
By diverging so much from this unwritten rule, colour drenching certainly makes a bold statement – and it’s no surprise that the trend is seen as both radical and unconventional. That said, it does have a number of potential advantages…
Drama
The effect of colour drenching can add incredible richness and drama. It works well in both contemporary and traditional-style spaces. But it’s especially useful for adding impact to a plain or featureless space that may otherwise feel bland in pale, neutral tones. This said, the effect of using a single colour can be surprisingly restful, even when using a strong colour.
Emphasis
One of the best benefits of colour drenching is that using a single colour for all surfaces makes for a seamless look. This provides a fantastic backdrop for everything else in the room, like your furniture or a collection of pictures. So, you can using it to make things stand out, such as the bold white porcelain in a water closet…
Space
Colour drenching can also benefit small rooms or long spaces like hallways. Applying a colour – even a strong one – across walls, doors, frames, skirting and radiators can pare things down and create a cohesive feel.
Consider painting the ceiling the same colour as the walls, for example. It gives the impression of more space because the point where they meet is blurred. The eye travels smoothly around, rather than being drawn to contrasting colours, which visually expands the space.
Layering
Using a single colour as the basis for a room also provides great opportunities for adding layers of texture and pattern. That could be soft furnishings, an upcycled piece of furniture or your favorite artwork. Why not combine them all like the stunning metallic example below?
How to get started with colour drenching
If you think colour drenching sounds a little overwhelming, you’re not alone. However, there are ways to apply the theory without having to go all out…
Muted colours
If strong colours are just too scary, choose a colour you love but in a more muted tone. If you like strong teals, for example, go for a shade of aqua like Santorini or a pastel duck-egg like Ducky.
Different shades
A more accessible approach is to tone things down by using different shades of the colour you choose. The closer the tones, the bolder the feel. Try the deep greyish greeny-blue tones of Jitterbug on your walls but try the lighter, softer Scotch Mist for the trims, woodwork and ceiling.
Reduced number of surfaces
Another option is to dip your toe into the drama of colour drenching by simply applying your chosen colour to a reduced number of surfaces. Paint your walls and woodwork the same colour, for example, but leave the ceiling neutral. This is similar to the colour blocking trend, where blocks of colour are used to create contrast in unexpected ways. In this case, you would be masking certain features (point 4 in our colour blocking blog post) to create continuity and take the focus off your woodwork, like so…
Which surfaces should you colour drench?
The first step with colour drenching is choosing your main colour or colour group. Once that’s taken care of, it’s time to incorporate it into your space. This can be done in more than one way, depending on your starting point:
Working out from the wall
Perhaps start with a feature wall. If you already have one, you have a head-start. If you don't, read our blog post on the subject for tips on how to add one! Next, you can paint the surrounding woodwork and radiators in the same colour – a great way to test the water in a limited way. Live with it for a while and, if you like the effect, then continue onto further walls!
Starting from scratch
Of course, lots of people start from scratch altogether. Perhaps start by painting all the walls and woodwork with your chosen colour. For variety, you could consider a contrasting satin finish for the woodwork to subtly differentiate from the walls. Then move on to other elements, depending on how far you want to take things:
- Ceiling – Also known as the ‘fifth wall’, the ceiling can have a big impact on your colour drenching scheme.
- Accessories on walls – From painted radiators and shelves to new matching ornaments.
- Pieces of furniture – Adding new pieces of furniture or updating existing furniture with the same colours is a simple way to drench colour little by little.
- Soft furnishings – Consider your curtains, blinds, cushions or a rug. For a subtler look, choose items with a different primary colour but a touch of your chosen colour.
And which rooms does it work in?
If we’re being honest, colour drenching can look great in practically any room. In large open-plan spaces, it can be used to create a distinct area without the need for physical barriers. That could be a drenched kitchen area within a kitchen-diner, for example.
As we mentioned earlier, it’s also great for smaller spaces, where the drenched colour can make a backdrop recede to create the impression of more space. Think hallways, box bedrooms or just small living spaces in city-centre apartments.
From living rooms and bedrooms to dining areas, kitchens and bathrooms, colour drenching knows no bounds. That said, it’s important to consider how natural light impacts your chosen room. When a room is predominantly one colour, light plays much more of a role in drawing attention to certain elements – which would otherwise be done using different colours.
Choosing paint for colour drenching
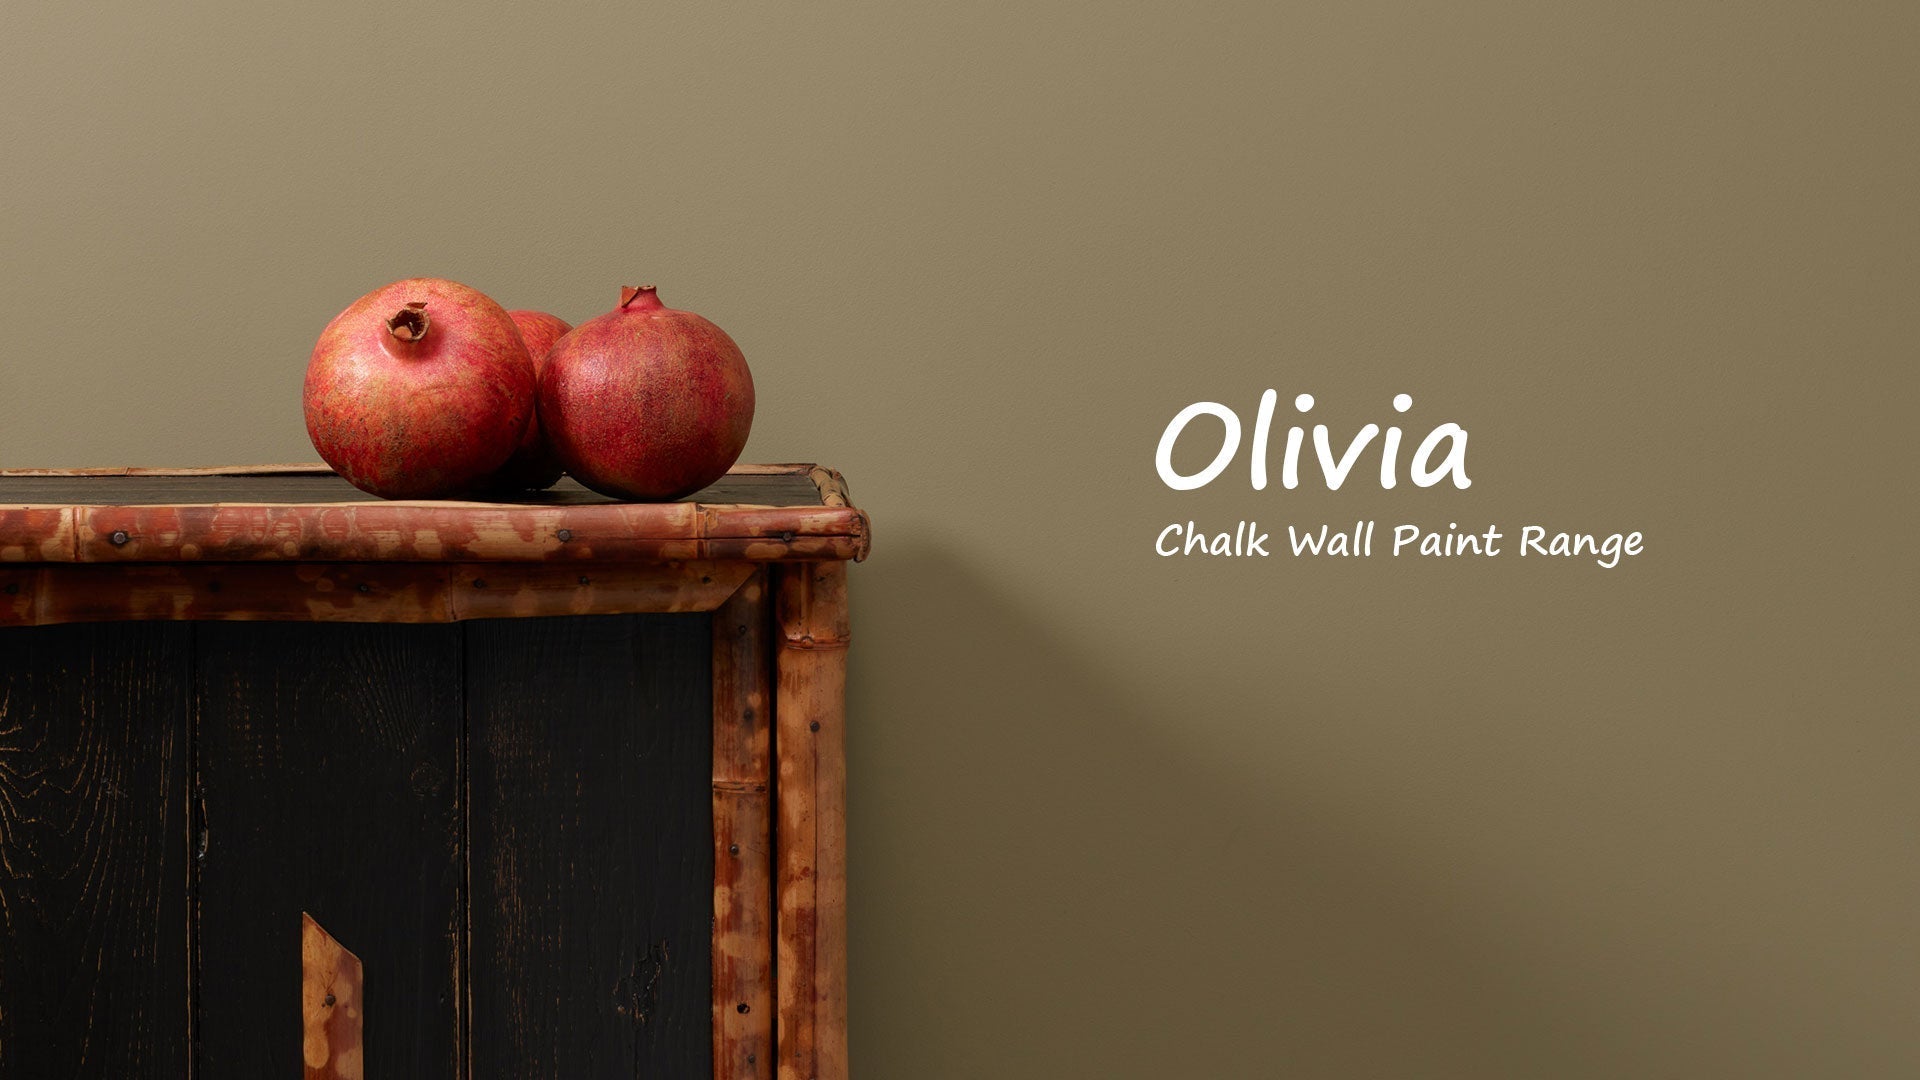
Colour drenching means using your wall colour on multiple surfaces. That could be ceilings, skirting boards, doors, frames and even furniture. Frenchic's Chalk Wall Paint range is suitable for these however, adding another layer of interest with a contrast in finish is a great trick.
This is where Frenchic's Trim Paint can help out. Its subtle satin sheen finish is the perfect addition for an understated contrast to the ultra-matte Chalk Wall Paint – and is available in the same palette of colours. So, whether you are colour drenching, colour blocking or just painting your doors the same colour as your walls, you have options.
Alternatively, if you’re looking to mix things up with close tones rather than an exact match, our Lazy Range and Al Fresco paints offer even more choices – with the same great adhesion on walls, woodwork and a range of other surfaces. These two collections are a great option when you want to include pieces of furniture in your colour drenched interiors, with self-priming and self-sealing qualities to boot.
Transform your interiors with colour drenching
At Frenchic, there’s nothing we love more than seeing our products used for all kinds of interior and exterior painting trends. If colour drenching sounds like your cup of tea, we have a wide range of products that can make your project easier, more durable and even more enjoyable.
All our products use minimal VOCs to as well as being UKCA and EN71-3 certified so they’re safe to use on children’s toys. Get started today by choosing your colours – or single colour – and don’t forget to send us the results on Instagram or Facebook.


