Whether it’s a place for pets to snuggle or the backdrop to your favourite reading spot, a fireplace tends to be a strong focal point in a room. When they don’t fit in with your style, it’s only natural that you’ll think about changing things up.
Chalk paint is a fantastic way to do so, as long as you take a few precautions when it comes to preparation, painting conditions and the products you’re using. In this post, we’ll outline what you need to know before painting your fireplace with chalk paint – and give you some inspiration with a few of our favourite transformations.
Painting a fireplace: the basics
It’s amazing what a coat of paint can do for a dated tile or tatty wood fireplace – and it’s so quick to make a stylish update. The good news is that most fire surrounds can be painted pretty simply. As you might have guessed, the main complication, compared to other painting projects, comes from the heat.
The general advice is to avoid painting a surface that could become too hot to touch. High heat can affect paint adversely, impeding curing and causing discolouration. In extreme cases, it can even cause blistering or flaking. So, don’t paint any surfaces that will be affected by the heat source. That includes the hearth, for example, if you have a real fire.
Other than that, you simply need to check that the surface is suitable for painting, prepare it (more on this below) and get going with your transformation…
How to paint a fireplace
Preparation
Preparation for most surfaces follows the standard steps – as covered in our blog post on surface prep. To recap, those are:
- Clean down with Sugar Soap and warm water
- Rinse and dry
- Lightly sand to abrade the surface, which will help the paint adhere – the glossier the surface, the more thorough the sanding required
- Make sure you clear off any dust before painting
Before you start to paint, we’d definitely recommend using masking tape to make your life easier. It will allow for a quicker job overall – as well as being really satisfying to pull off at the end:
- Mask around the outside edge of the fire surround or mantle, along with any tiles you want to avoid getting paint on
- Use low tack tape
- Remove it before the paint has dried.
Painting
If you’re painting a porous surface like bare brick, stone or MDF, it’s a good idea to seal before applying the paint. This avoids the surface sucking in moisture, which would lead to an uneven finish that requires extra paint. Frenchic Finishing Coat is perfect for this.
For real wood, it’s best to paint with the grain, following the way the wood grain runs. If in doubt, running your brush lengthways along a section (rather than widthways) makes for a better-looking finish – not to mention that long brush strokes tend to be easier than short ones.
While rollers can help you cover large areas faster, most fireplace projects are better suited to good quality brushes. When painting, keep pressure light and even, and follow the recommended coverage on the tin to avoid paint going on too thick or too thin. The tin will also have information on time between coats and drying information, which is important to check as timing can vary with different paint brands or ranges.
As always, choosing a self-priming and self-sealing paint like the Al Fresco or Lazy Range will make for a simpler project, eliminating some of the additional preparation and aftercare steps that other paints require. Or, if you’re looking for a satin finish, check out the huge range of Trim Paint colours.
Chalk paint fireplace inspiration
Now to everyone’s favourite bit – getting inspired and choosing your colours. Fortunately, we have plenty of chalk paint fireplace transformations that can give you some ideas for your own renovation project. Take a look…
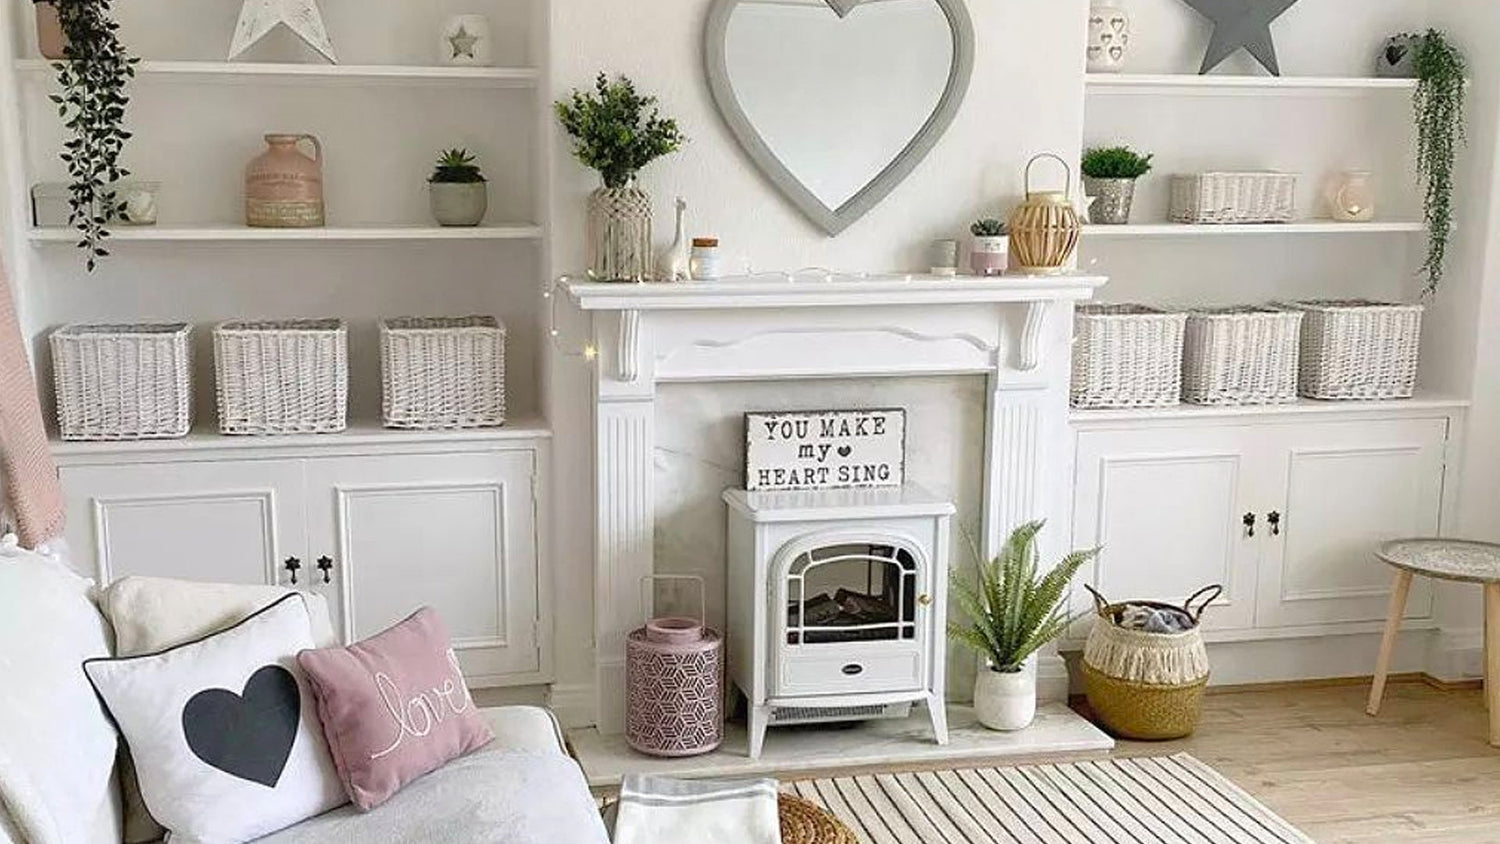
If you’re looking for a quick update, try Blackjack and Cream Dream to create a modern, clean look with its own striking contrast.
This transformation goes from pine to fine using Dazzle Me! on the fireplace surrounding, cupboards and shelving, along with Whiter than White on the walls.
Paint doesn’t just change the colour. If you’re looking to totally transform your fireplace, how about using a stony grey like Posh Nelly to create a stone-effect surround? As one of our traditional-style Original Artisan Range, it’s sealed with Finishing Coat and paired with Blackjack on the ceramic tiles to complete the sleek, contemporary look.
Even the most dated fireplaces can become slick and modern. If you’re tackling old-fashioned wood, tile or a combination of both, using muted neutrals like Blackjack and Whistle can provide a completely different look without the cost of replacing your fireplace altogether.
And don’t forget the Frenchic beam hack. As covered in our guide to painting wood beams, a simple scrub and sand down unlocks a world of opportunities for your beams. If you have a rustic beam-style fireplace, you can create a natural look (as above) using Crème de la Crème with Browning Wax that sits in the wood’s texture to accentuate the rustic look.
You can also go for a wax-only approach to emphasise the wood’s natural qualities, create a whitewashed look with a Whitey White and Finishing Coat mixture, or paint your beam the same colour as your walls for a contemporary, neutral approach.
Beautiful chalk paint for your fireplace
Whether you’re renovating a dated fireplace with a stone effect or refreshing a beam-style surround with a whitewashed look, Frenchic has top-quality chalk paint to give your fireplace a look that lasts. Durable chalk paints in our Al Fresco and Lazy Range are self-sealing and self-priming to minimise preparation and aftercare without compromising on the results. Or opt for our Trim Paint range for the same great qualities with a satin finish.
There’s also a selection of traditional style chalk paints in our Original Artisan Range and decorative waxes to create unique effects that let your fireplace sing. Choose from a range of exquisite paint colours and follow the advice above to get the best results.


