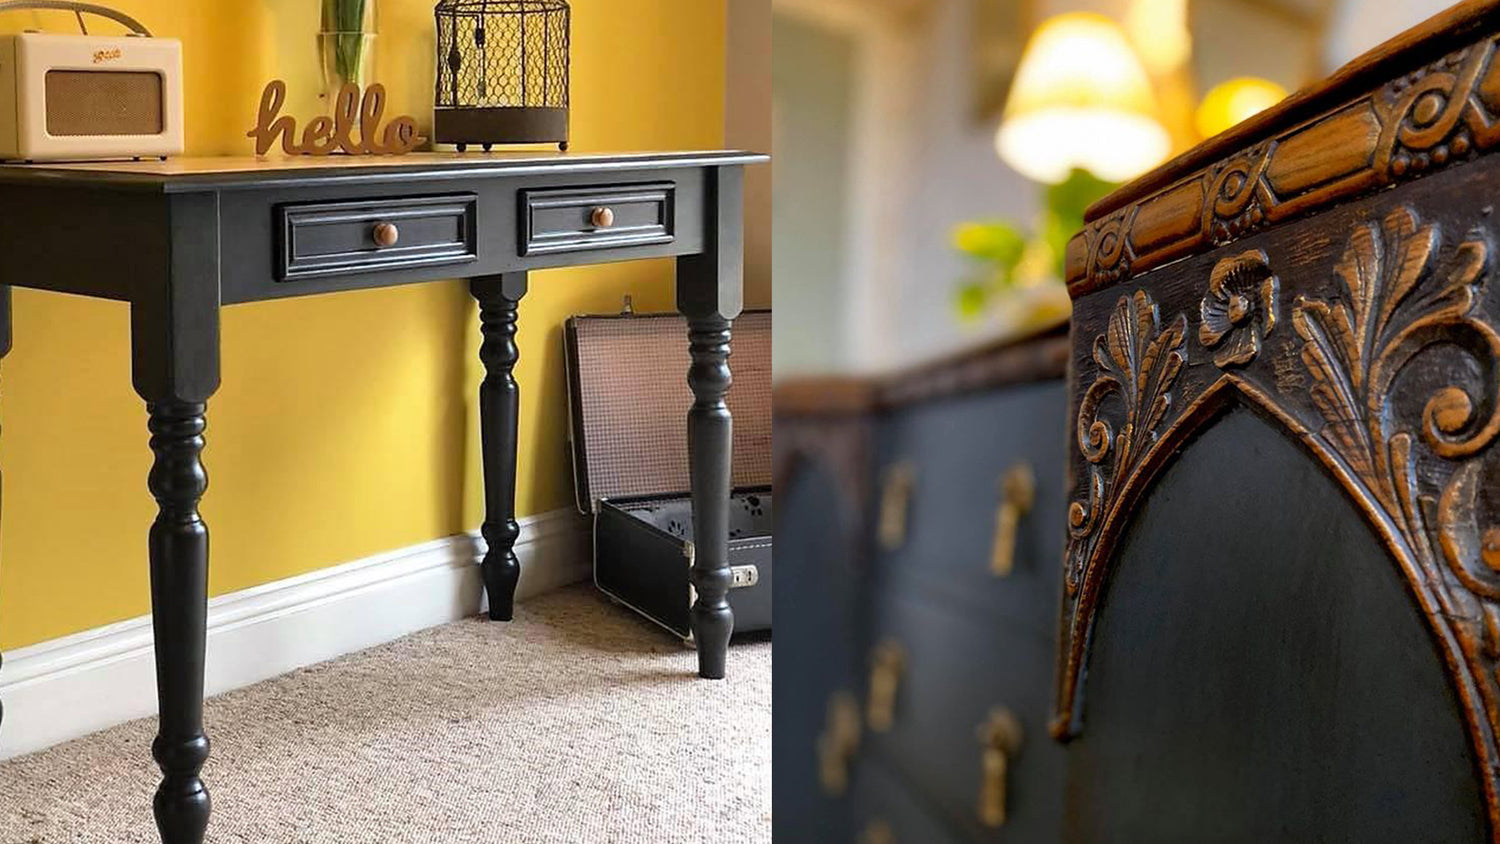
A lick of paint is one of the quickest and easiest ways to update your home’s interior. That’s no different for furniture, which can be truly transformed by high-quality chalk paint.
Whether you’re looking to revamp an old pine chest of drawers, an end table, bookshelf or a fabric chair, this guide will explain how to upcycle your furniture with chalk paint in eight steps.
Upcycling using chalk paint
1. Pick your brush
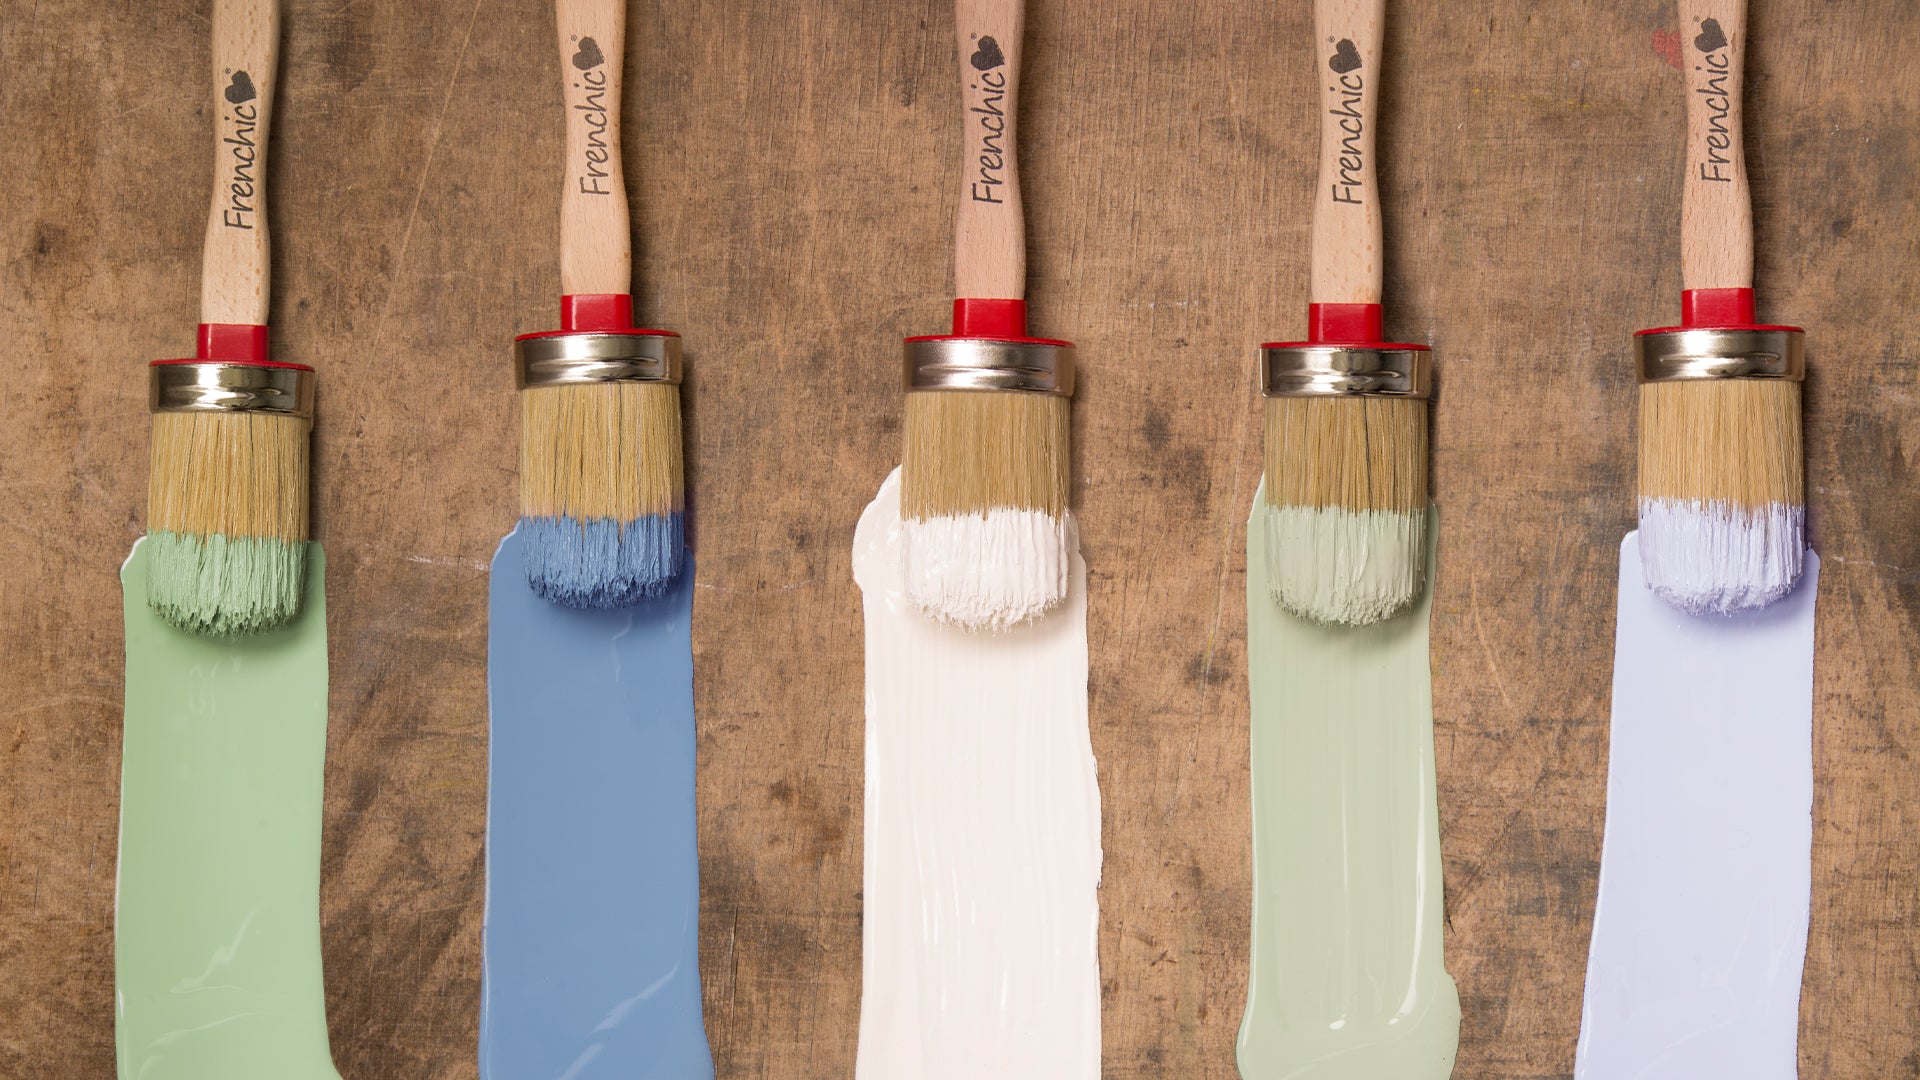
When you’re using chalk paint, you’ll always get better results with the right paintbrush. Although you can use whatever you have lying around in your house, an oval bristle brush will work best. The oval end works well for this type of paint and the furniture being painted. Our Italian handcrafted oval brushes are made with a careful mixture of natural and synthetic fibres to produce the best result for your upcycling project.
2. Clean the piece
One of the many benefits of using chalk paint is that there is little to no prep required. Chalk paint is very forgiving, so you don’t have to spend hours cleaning the piece of furniture for painting. Even so, it’s a good idea to wipe down the piece of furniture with water and sugar soap if there are stubborn marks or greasy areas. If there is any dust, dirt or grime, this should be cleaned away beforehand so that you have a great surface for the paint to adhere to.
3. Sand (if necessary)
Sometimes, you don’t need this step at all. However, any flaking or tacky areas of the furniture will need a very light sand to smooth things out and make the paint job a snap. It doesn’t have to be extensive – just a few minutes of sanding by hand with a medium grit sponge.
Shiny surfaces, such as veneer or metals, will benefit from a light sanding just to rough up the surface enough for the paint to stick.
4. Mix the paint
If it’s the first time opening the tin of paint, give it a gentle shake with the lid on before opening it and giving it a bit of a stir to blend.
5. Dip and go!
Dip your brush in and give it a light tap so that there is no paint dripping. You can add more water to create a fine paint wash. For that lovely textured and aged look, paint straight from the tin with the oval brush.
The technique of dry brushing is where you do not add any water, but take a very small amount of paint on the brush, and then paint very lightly. It is particularly useful when you want to get a look where the piece is not entirely covered and you have some underlying timber peeking through. For a weathered look, paint in various directions and strokes, ensuring that there is minimal paint on the brush each time.
6. Let it dry and decide if it needs a second coat
Depending on how shabby chic you want your upcycling project to be, you may not need a second coat. For a smoother finish, you will need at least two coats.
7. Wax it
Once your furniture piece is dry, apply the furniture wax liberally with a wax brush. It is better to add lots of wax and wipe off the excess than to use too little. After allowing the wax to dry then buff with a dry, lint free cloth.
8. Distress
Going for an uber shabby chic look? Use fine sandpaper to go over the piece once waxed and distress in areas such as the edges and corners. Do as much or as little as you like, sanding off a layer of paint to reveal the colour underneath. Start small to begin with as you can always do more later on. Apply a little wax over the areas you have distressed.
Added upcycling options
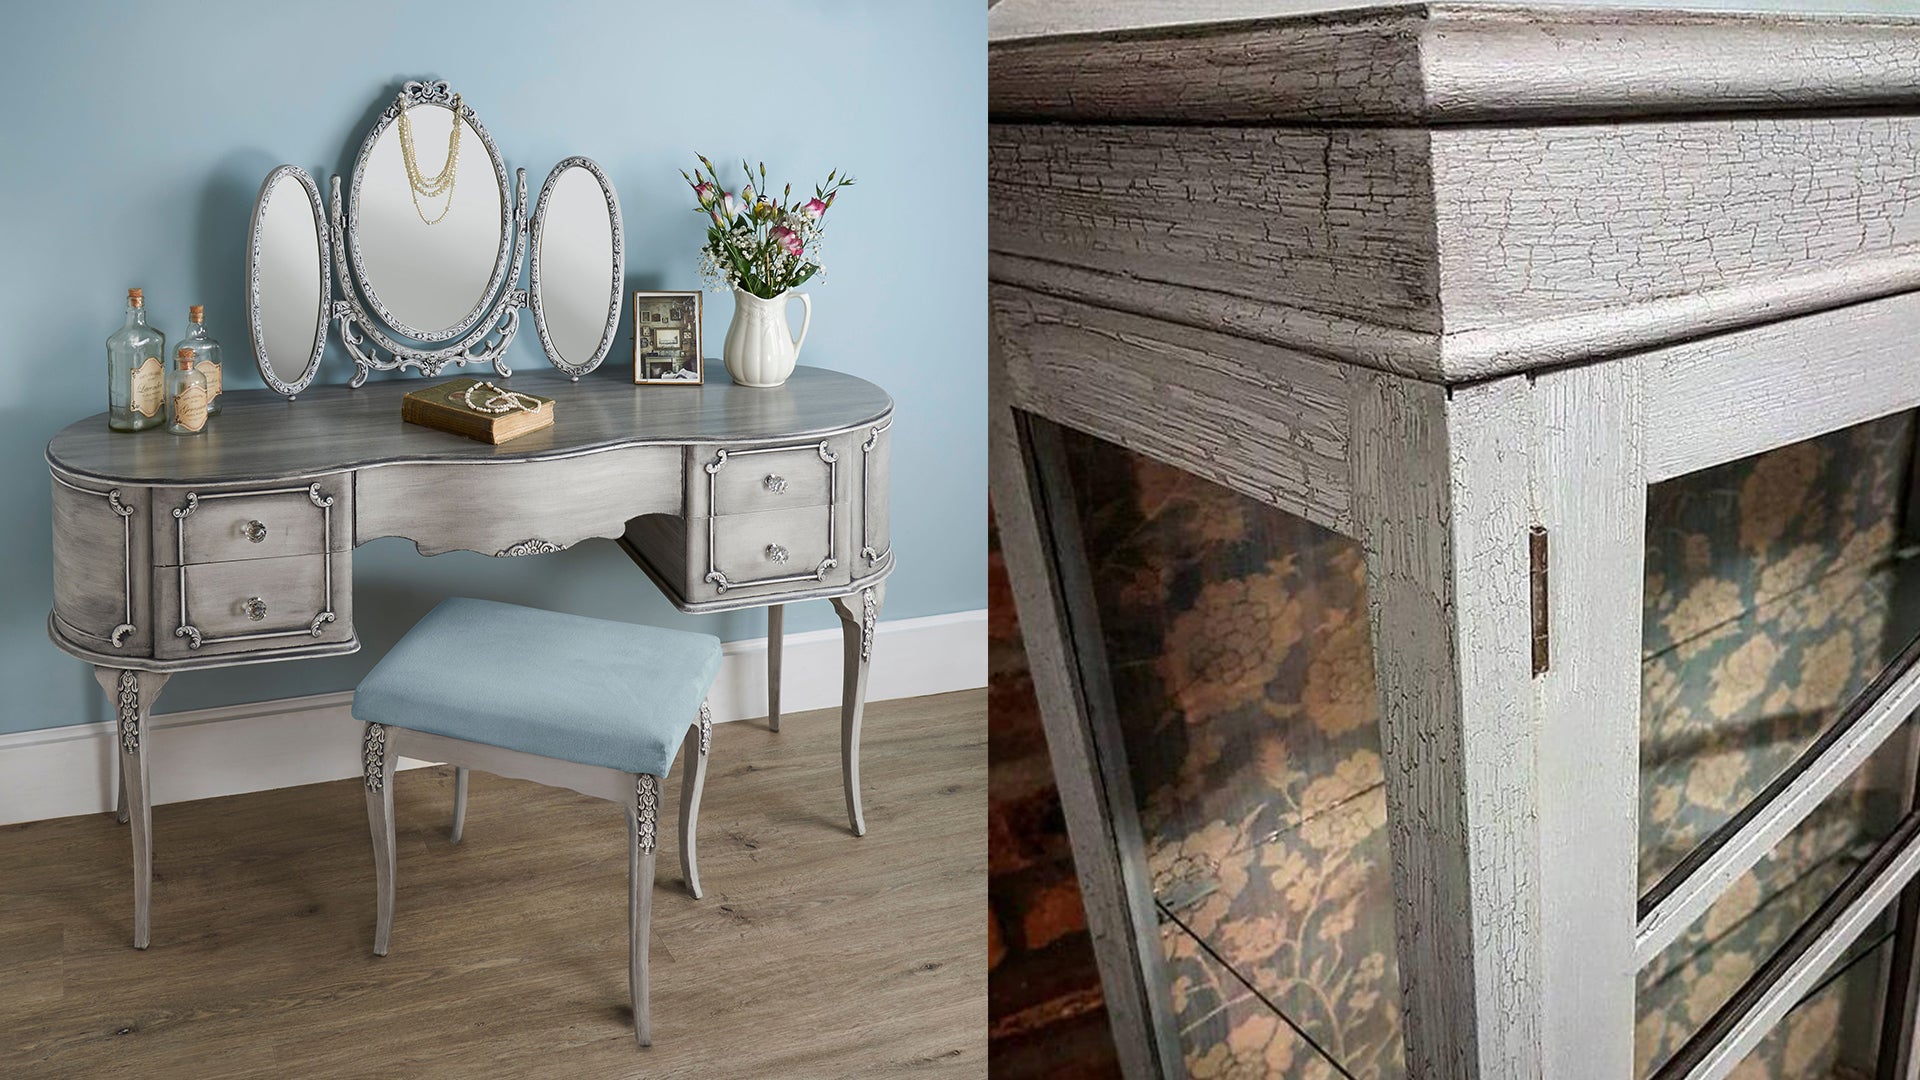
- If an old piece of furniture is longing for a makeover, you can go all out by adding a hint of metallic sheen to the trim or corners, giving it a flashy feel without feeling overdone.
- You can even play with textures by adding a layer of crackle that will give your furniture an aged appearance.
- For a fun and on-trend upcycling project, add chalk paint over quaint stencils to truly make your piece of furniture unique. Explore our luxury designs and learn how to easily apply them in our brief stencil guide.
Why should I use chalk paint?
If you haven’t caught the chalk paint bug yet, you’re in for a treat. There are a few key benefits of using chalk paint, including:
- It requires very little preparation, saving you time and effort. It’s also great for those who can’t wait to see the finished result.
- You don’t have to strip the furniture.
- It sticks to just about any surface.
- It has great environmental credits as there are no added VOCs, toxins or solvents.
- You have the ability to distress the painted furniture piece beautifully.
Using chalk paint for your upcycling project is a great way to save time without compromising on the finished project. The only real effort you’ll have to put in is choosing the colour.
Whether you want to achieve a shiny and polished piece or a vintage, scuffed and true shabby chic effect, all can be done easily with chalk paint.
Better yet, chalk paint can be put straight on any type of wood – varnished, unvarnished and even MDF – as well as metals and plastics. Planning to revive your favourite piece of pine furniture? Read our helpful pine painting guide for tips.
Get started with chalk paint
Chalk paint is the secret to creating a whole new look. At Frenchic, we stock a range of chalk paint colours and textures – including crackle paint, metallic sheen, stencils, paintbrushes and more. If you’re a beginner, you’re going to love our Lazy Range – simply paint and go!
Take a look at our full range of furniture painting products and get in touch with our friendly team who are happy to help you find the solution to transform your furniture.
