


Whether bold and vertical or sleek and horizontal, stripes are one of the easiest ways to transform a plain wall into a statement. They instantly add movement, depth and personality, and give you the freedom to pair two colours or finishes for either dramatic contrast or subtle sophistication.
The best part? It’s far simpler than it looks.
In fact, this clever little hack might just change the way you approach DIY forever.
In this guide, we’ll show you exactly how to paint stripes on walls in a few straightforward steps. Read on for crisp, professional-looking results without the stress.
What you’ll need:
- Two different paint colours from the Chalk Wall Paint Range
- Or one colour plus Finishing Coat for a subtle sheen striped pattern – more on this later
- Good quality masking tape
- A tape measure, a piece of card and scissors
- A roller and brushes
- A pencil, straightedge and spirit level for marking your walls
- Sugar Soap, a microfibre cloth and sandpaper
Measuring up
Start by measuring your wall to work out how many different stripes you’ll be painting and how big each section will need to be. A simple way is to measure the entire space, then divide it by the number of lines you want.
Top Tip: Choose an odd number, so you get a clean, balanced finish at each end. This allows you to leave the base colour visible at both ends of the wall, with the stripes starting slightly further in.
So, if your wall is 240cm and you want 21 stripes, each section will need to be roughly 11.4cm wide. You’ll actually be painting 10 coloured stripes, leaving 11 stripes surrounding them in your base colour.
At this point, it’s a good idea to cut a template to size so you can quickly and accurately measure your stripes. Measure a piece of card, then cut carefully to the right size. You’ll be able to hold this against the wall to mark out each section with ease.
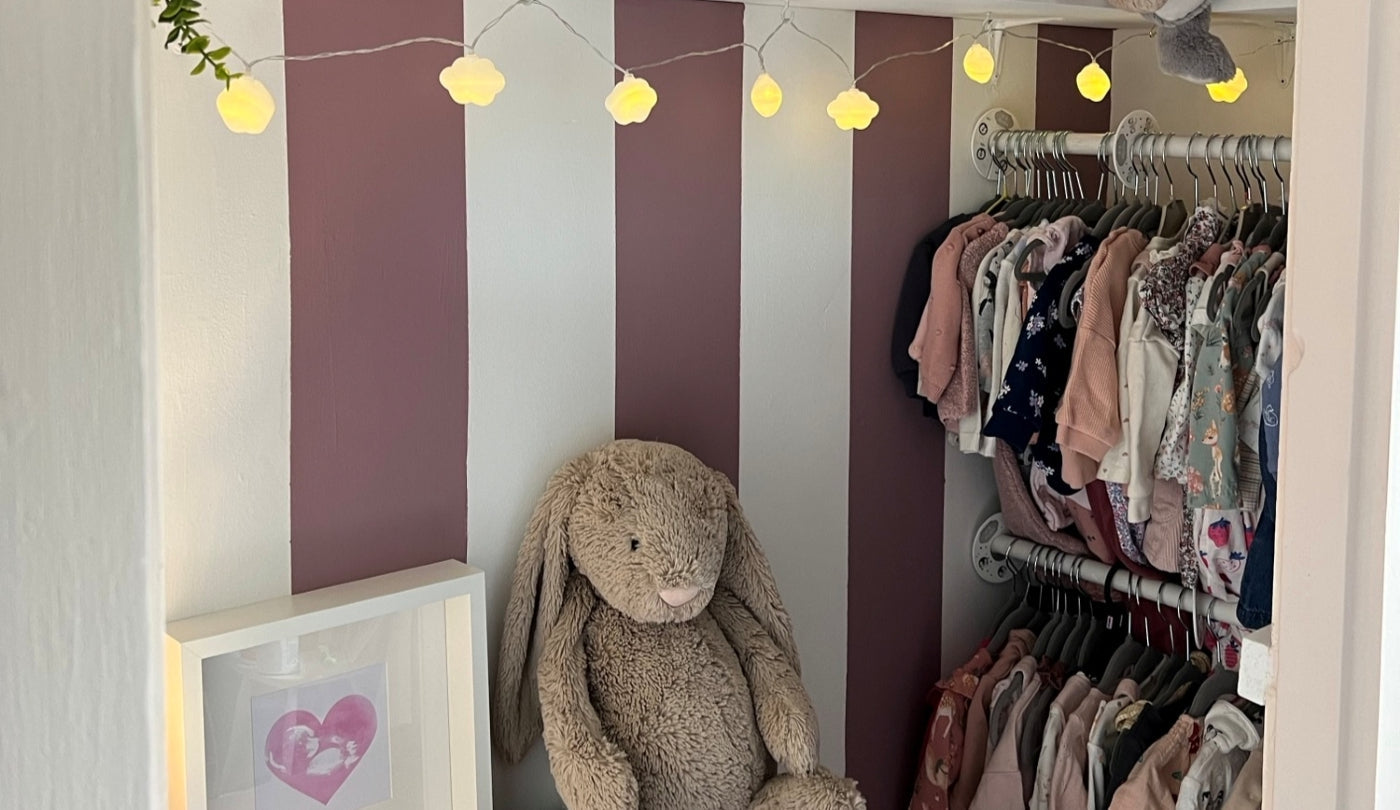
Of course, your stripes don't all have to be the same width. Varying the proportions can create a really striking effect that’s bold, rhythmic and quite different from uniform stripes.
Hannah from @ourcosyhomeinwilts does this to great effect using Dusky Blush on top of her existing walls.
To plan this out, simply decide on your two widths and add them together to get your repeating unit. Then see how many times that fits across your wall. You might need to adjust slightly to get a clean finish at both ends.
Preparing your walls
Prepare your surface by cleaning with Sugar Soap and a microfibre cloth to remove any dirt or grease, then rinse and allow to dry.
It’s also worth filling any cracks or holes before painting, as you wouldn’t want these to impair the end results.
Sand down any rough or uneven patches, including those you’ve filled. Then give the whole wall a light sanding to get it ready for paint.
To make painting easier, you can then apply masking tape to any surfaces that don’t need painting. That includes ceilings, coving, skirting boards or adjacent walls if you’re just painting a feature wall. You may also want to mask the top or bottom of your striped section if you’re only using this effect on half the wall.
Painting your base colour
Time to get some paint on the wall, starting with your base colour. If you’re wondering how to paint lines on a wall, the easiest method is to get a solid base done in one colour rather than painting each stripe individually. Afterwards, you can then start prepping and painting stripes onto that base.
A roller is definitely easier to cover more area quickly on larger walls. Of course, you’ll need a brush for cutting in around the edges.
Follow the instructions on the tin for coverage and drying times. Frenchic’s Chalk Wall Paint requires a minimum of two coats, though you may need more depending on the colour you’re using and what you’re painting over.
Marking and masking your stripes
Once your base colour is fully dry, use a high-quality masking tape to mark out the striped sections on the wall. It’s important to use reliable tape here, as it will avoid any paint seeping underneath and give you the best end results.
Get your pre-measured piece of card, then mark the width of each stripe on the wall with your pencil. Use a straightedge and pencil to mark the full length of the stripe, plus a spirit level to make sure it’s fully vertical or horizontal.
Next, apply masking tape to the full length of each stripe’s edge. You can then seal the edges of the tape. By this, we mean painting over them in your base colour, which seals any tiny gaps under the tape.
It’s also worth sticking a small patch of masking tape in the middle of stripes that don’t need painting. Doing so will ensure you don’t get carried away and put paint where it doesn’t belong. Trust us, it happens!
Do I need to use masking tape?
It's technically possible to go freehand. Kayleigh Sherbourne proves with her incredible five-colour rainbow wall, using Golightly, Eye Candy, Peach and Love, Haley J and Macaroon from the Trim Paint range. However, we'd definitely recommend sticking with masking tape for the cleanest results.
Painting your stripes
Once your paint is dry where you’ve sealed your tape, you can start painting your second colour on as stripes. A brush is best here, as you’ll still need to be careful not to go over your tape.
If you’re using a different colour, allow multiple coats for a solid finish. The final hack for crisp lines is to peel away your masking tape while the paint is wet.
Watch this video to see Frenchic expert Abi (@thewhitethistle) using this hack with Pampas and Nougat from our Chalk Wall Paint range. Just tape, paint and peel for flawless stripes every time!
Paint lines on your walls with ease
With Frenchic, it’s easier than ever to create beautiful visual patterns on your walls. Our Chalk Wall Paint range is velvety and luxurious with a scrubbable, ultra-matte finish. So, your stripes will look great for years to come!
To get started, find your local Frenchic stockist. They know everything there is to know about our award-winning paints and accessories.
